
Your Ultimate Guide to a Bedroom Wallpaper Feature Wall
Let’s be honest, four plain walls are the interior design equivalent of listening to Coldplay on a loop – safe, sure, but utterly forgettable. A bedroom wallpaper feature wall, on the other hand, is the ultimate power move. It’s your chance to inject some serious personality into your personal space, transforming it from just a room into a proper sanctuary. This is where you can go full Gallagher without the commitment of redecorating the entire gaff.
Why a Feature Wall Is Your Bedroom's Main Event
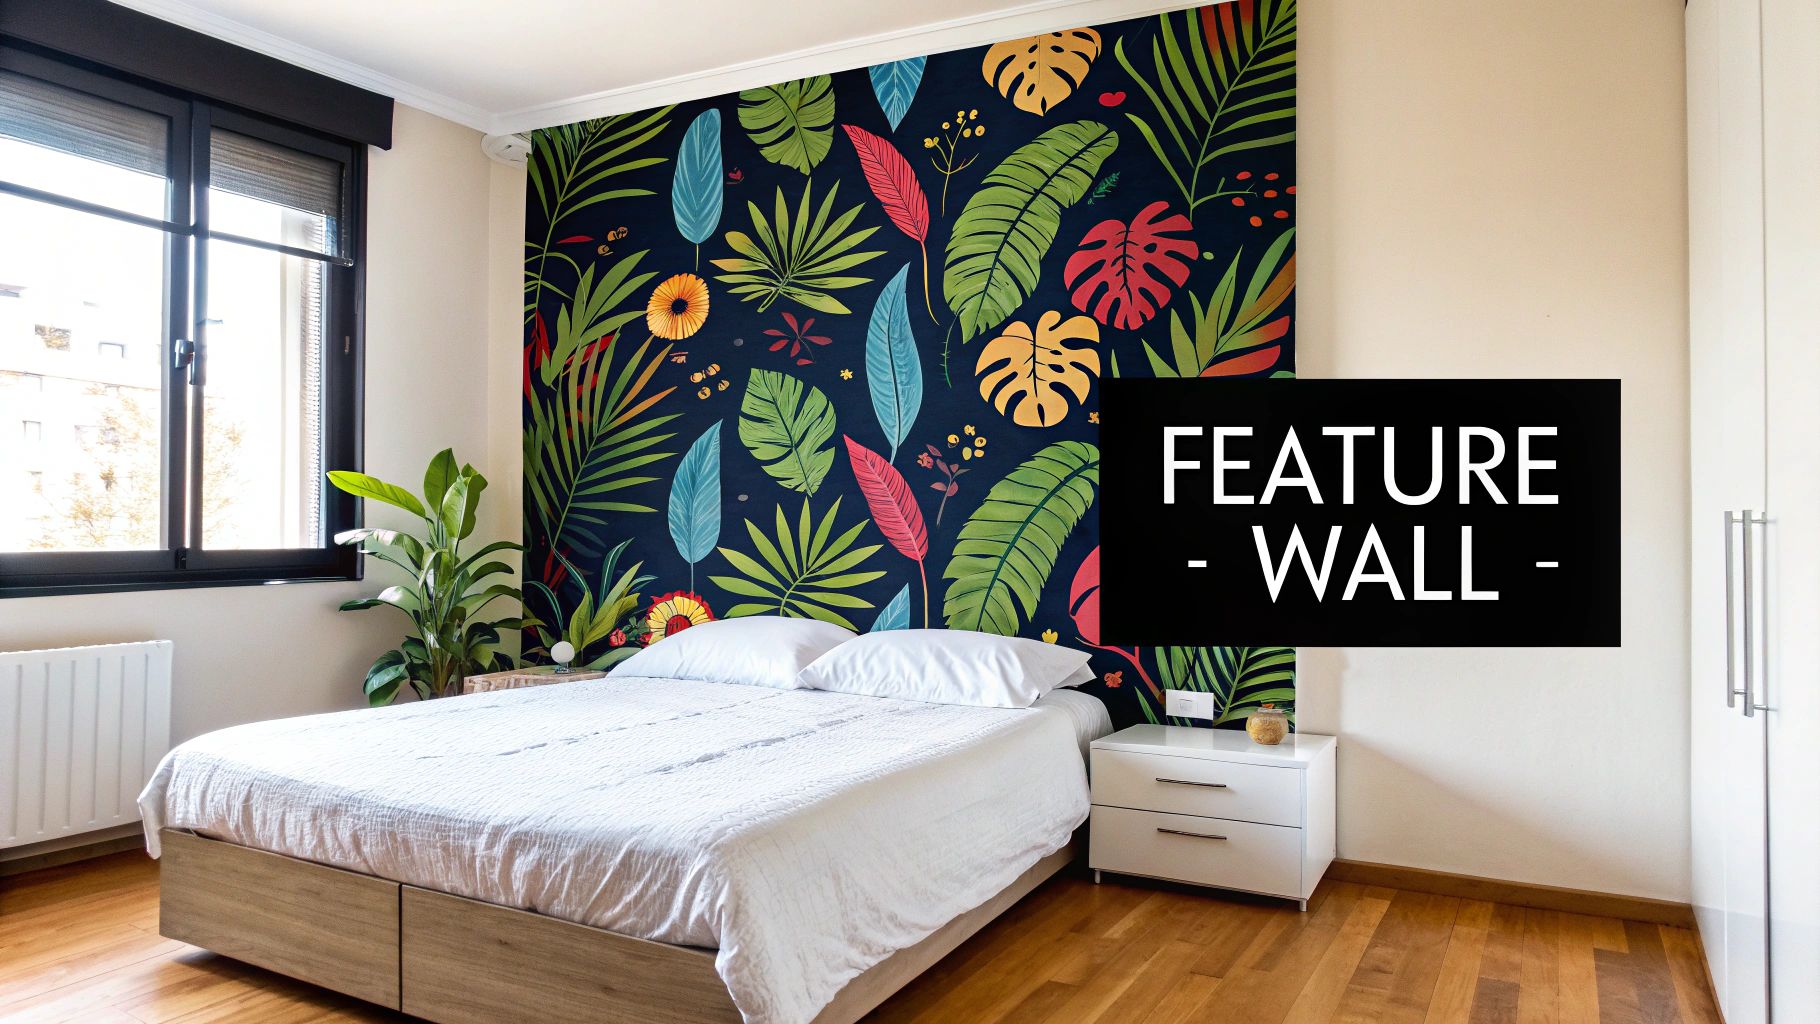
Think of your bedroom feature wall as the headline act at Glastonbury. It’s the main event, the thing everyone talks about, and the visual anchor that sets the tone for everything else. It’s got swagger and makes a statement the second you walk in.
But this isn't just about slapping up some fancy paper. It's a clever design choice that offers some serious perks without costing a fortune.
More Than Just a Pretty Pattern
A well-executed feature wall is a master of illusion. I've seen it work wonders. It can make a small, boxy room feel surprisingly spacious or bring a real sense of cosiness to a larger, more cavernous space.
Got a room that feels a bit gloomy? A bright, reflective wallpaper can bounce light around, making the whole place feel more alive and welcoming.
Essentially, it’s about creating a focal point that says, "This is my turf." It’s the perfect backdrop for your prized possessions, whether that’s a gallery wall of your favourite match-day photos or a killer lyric print from The Smiths. It’s about stamping your personality all over the place.
Your feature wall is the one place you can go completely bonkers. It's the design equivalent of putting on your favourite album and turning the volume up to eleven. Go bold, be brave, and create a space that makes you smile every single time you see it.
And this isn't just a niche idea; the trend is catching on, big time. The UK home decor market is absolutely booming and expected to hit USD 24.59 billion in 2025. What's more, a recent survey revealed that a whopping 68% of people prioritise wallpaper for bedroom updates, often favouring personal touches like vintage-inspired patterns.
It’s clear that homeowners are keen to create unique spaces that reflect who they are. If you’re interested in the numbers, you can dive into more home decor trends and insights over at Mordor Intelligence.
This single wall is your canvas for self-expression, a way to tell a story without saying a word. It’s your opportunity to create a room that's not just a place to sleep, but a place that feels completely and utterly you.
Choosing Your Wallpaper Without a Meltdown
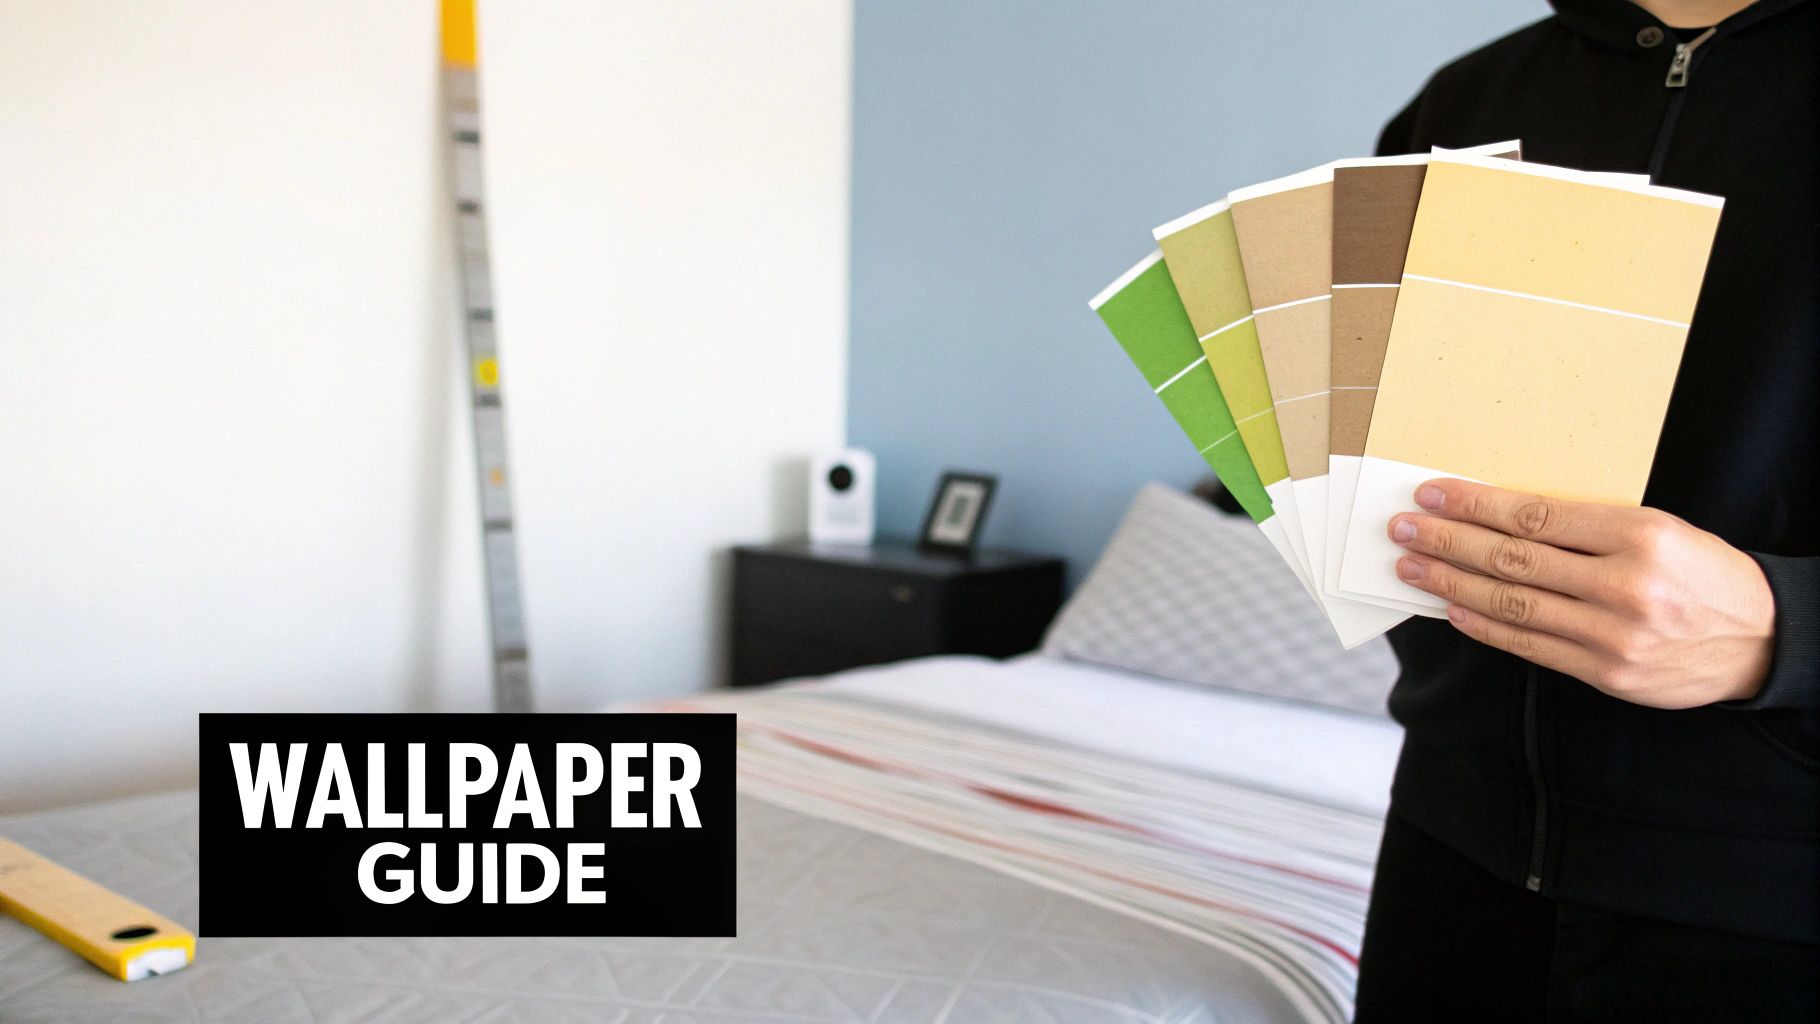
Walking into a wallpaper shop, or scrolling endlessly online, can feel a bit much. It's a sensory overload that’s both thrilling and completely overwhelming. Suddenly, a moody botanical print is battling a bold geometric for your attention, and you're left wondering if you're cool enough for either. Don't panic. This is your backstage pass to picking the perfect paper for your bedroom feature wall.
The first move is to filter out the noise. What’s the vibe you’re really going for? Are you creating a calm sanctuary that feels like a secret garden, or are you making a statement that’s got a bit more rock and roll to it? The pattern you choose sets the entire mood.
Decoding the Lingo: Wallpaper Materials
Once you’ve got a style in mind, it’s time to talk materials. I promise this isn’t as boring as it sounds. Getting this right is the difference between a simple Sunday afternoon job and a full-blown DIY disaster.
Here's a no-nonsense comparison of the most common materials you'll come across.
Quick Guide to Wallpaper Types
| Wallpaper Type | Best For | Application Difficulty | Durability |
|---|---|---|---|
| Vinyl | High-traffic areas, kids' rooms, bathrooms. | Moderate | Excellent - scrubbable. |
| Non-Woven | DIY beginners, creating a quick transformation. | Easy (paste-the-wall) | Good - often breathable. |
| Textured | Adding depth and luxury, covering minor flaws. | Varies (often harder) | Moderate - can be delicate. |
Choosing the right type makes all the difference. If you have kids who see walls as a blank canvas or pets who get a bit too friendly with the furniture, vinyl is your best mate. It’s built to last. For DIY rookies, non-woven is the holy grail – you paste the wall, not the paper, making it far less messy. If you want to add a bit of oomph, textured papers like grasscloth bring a tactile quality and a touch of luxury.
The UK is seeing a huge comeback in bold, textured, and maximalist wallpapers. In fact, UK wallpaper revenue is set for a 5.3% growth spurt between 2025 and 2030. While vinyl holds its ground, non-woven is surging ahead simply because it's so user-friendly.
The Non-Negotiable Step: Getting Samples
Here’s the single most important piece of advice you’ll get: always get samples. That pattern you fell in love with on your phone screen can look completely different under the unforgiving glare of your bedroom light. It might clash horribly with your carpet or just look... odd.
Tape your samples to the actual wall you plan to cover. Check on them in the morning, afternoon, and again in the evening. A colour that looks perfect at noon might look murky and unwelcoming by nightfall. The impact of light and surrounding colours is huge, and understanding a bit about colour psychology in interior design can really help.
Making a final decision can be tough, but breaking it down by style, material, and how it looks in your own home will save you a world of regret later. Choose wisely, and you'll have a feature wall that truly steals the show.
The Prep Work Professionals Swear By
Right, let’s get down to the business end of things. Before you even think about unrolling that gorgeous wallpaper, there’s some essential prep work to tackle. I know, it’s not the exciting part, but trust me on this – skipping the prep is the number one reason DIY wallpaper jobs go wrong.
Think of your wall as a canvas. You wouldn't start a painting on a dirty, bumpy surface, would you? The same principle applies here. A smooth, clean, and properly prepared wall is the secret to getting that flawless, professional finish everyone wants.
Getting Your Wall Ready for Its Close-Up
First up, the wall needs a good clean. A simple solution of sugar soap and warm water is perfect for cutting through any dust, grease, or grime that could prevent the wallpaper adhesive from getting a proper grip.
Once it's sparkling clean and completely dry, it's time for a close inspection. Run your hand over the surface and look for any cracks, holes, or dents. Filling these is absolutely critical. Don’t just slap a bit of filler in and call it a day; you'll see every lump and bump through the final paper.
- For small cracks and holes: A good quality, flexible filler is your best friend. Use a filling knife to press it firmly into the gap.
- Sanding is non-negotiable: When the filler is bone dry, sand it down with fine-grit sandpaper. You want it to be perfectly flush with the rest of the wall. If you can feel it, you’ll see it.
Of course, before you can add your new design, you might have to deal with what’s already there. Knowing how to remove wallpaper easily is a game-changer and a crucial part of the prep for creating that perfect, smooth foundation.
Here’s a pro tip that so many people skip: 'sizing' the wall. Sizing just means applying a special primer or a thinned-down wallpaper paste to the wall before you hang the paper. This seals the porous plaster, stopping it from absorbing all the moisture from your adhesive too quickly.
This simple step not only helps the paper stick evenly but also makes it a million times easier to remove down the line without damaging your walls.
Your Essential Toolkit
Don't be that person trying to smooth out bubbles with a credit card. Having the right tools makes the entire job less stressful and far more successful.
- Wallpaper Paste: Make sure you get the right kind for your specific paper.
- Pasting Brush or Roller: To apply the paste smoothly.
- Pasting Table: An absolute must-have. Don't try this on the floor.
- Sharp Craft Knife & Spare Blades: A dull blade will tear your paper.
- Wallpaper Smoother: The key to a bubble-free finish.
- Tape Measure & Pencil: The old mantra holds true: measure twice, cut once.
- Plumb Bob or Spirit Level: Absolutely essential for getting that first strip perfectly straight.
Getting this prep phase right is the difference between a triumphant DIY victory and a weekend of frustration. It sets the stage for the main event and ensures your feature wall looks incredible.
Hanging Wallpaper Like You Know What You're Doing
Right, this is it. The moment of truth. You’ve done all the prep work, your tools are ready, and it's time to transform that roll of paper into a stunning bedroom wallpaper feature wall. If you’ve heard any DIY horror stories, forget them. This is your project, and you're about to nail it.
The All-Important First Strip
The first piece of wallpaper is always the most crucial. Get this one right, and the rest of the job feels like a victory lap.
Start by drawing a perfectly straight vertical line using a plumb bob or a long spirit level. Position this line about 50cm from the corner—or just a fraction less than the width of your wallpaper. This line is your guide for everything that follows. Never, ever trust the corner of a room to be truly vertical. I can tell you from experience, they almost never are.
Next up is the paste. Follow the instructions on the packet and mix it until it has a smooth, thick consistency, almost like yoghurt. Whether you’re pasting the paper itself or the wall (your wallpaper’s instructions will tell you which), make sure you apply an even coat, paying close attention to the edges.
From the First Drop to a Full Wall
Carefully line up your first strip of wallpaper with the pencil line you drew. It’s always a good idea to leave a little extra at the top and bottom, which you’ll trim off later.
Using a wallpaper smoother, gently press the paper onto the wall, working from the centre outwards to push out any pesky air bubbles. Take your time with this bit. Once it’s smooth and in position, use a craft knife with a fresh, sharp blade to trim the excess paper at the ceiling and skirting board for a clean finish.
With the first strip looking fantastic, it's time for the next one. This is where you’ll need to match the pattern. Before you even think about cutting the next piece, hold the roll up against the strip you’ve just hung and find the exact point where the pattern aligns perfectly.
One of the biggest mistakes people make is trying to stretch or force the paper to make the pattern line up. It just won’t work. If it's not aligning, gently peel the strip back and reposition it. Think of it as a delicate dance, not a wrestling match.
This simple diagram shows the prep work that makes all the difference.
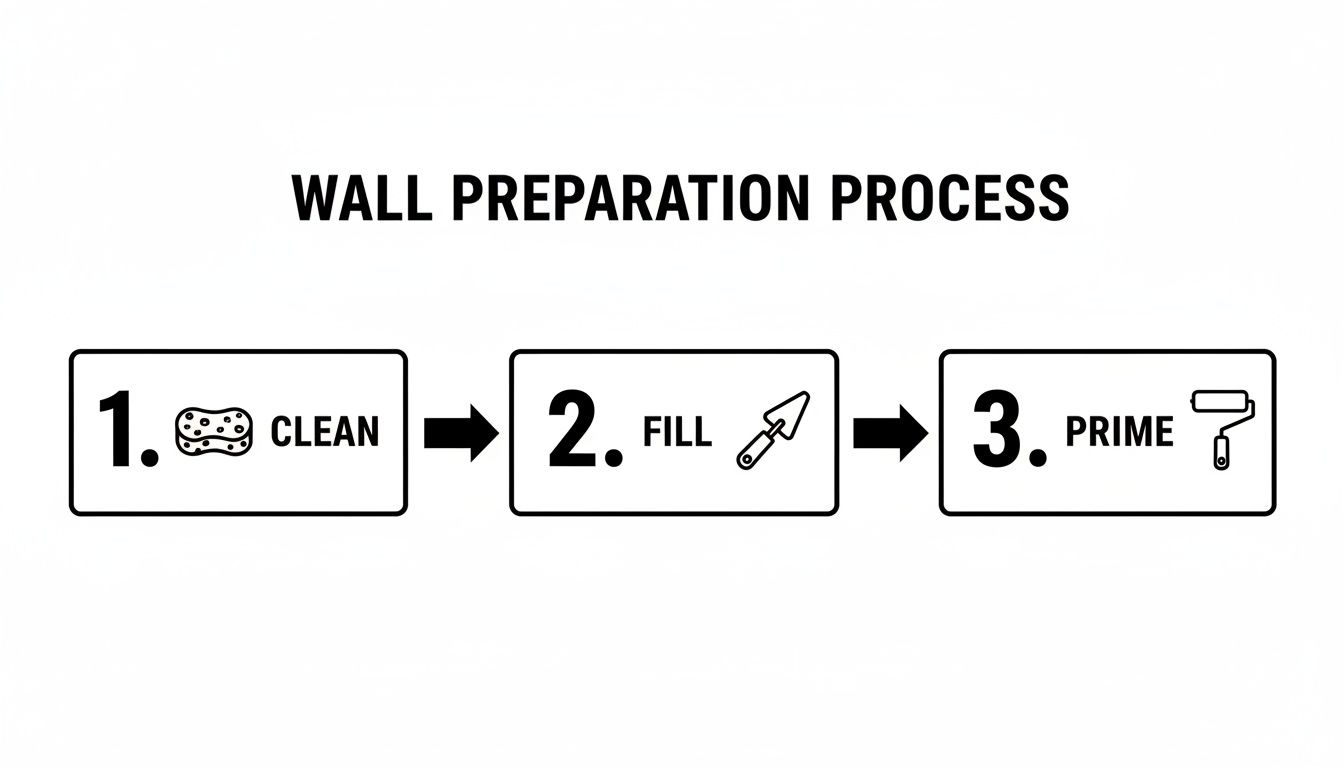
As you can see, a clean, smooth, and primed surface is the essential foundation for a professional-looking finish.
Tackling Tricky Obstacles
Eventually, you’re going to come up against a plug socket or a light switch. Don’t panic. The first and most important step is to turn off the electricity at the fuse box.
Hang the paper directly over the socket or switch. Then, make a small cross-shaped cut from the centre of the fitting out towards its corners. This allows you to gently peel the flaps back and carefully trim around the edges for a snug fit.
Corners can also seem intimidating, but there’s a simple trick. You should never try to wrap a full width of paper around an internal corner. Here’s what to do instead:
- Hang the strip so that it overlaps the corner by about 2cm.
- Make a few small vertical cuts into the overlapping edge to help it lie flat.
- Smooth the paper firmly into and around the corner.
- Start your next piece on the new wall, overlapping the 2cm flap. Use your spirit level to make sure this new strip is perfectly vertical.
You’ll quickly find your rhythm, and before you know it, the wall will be completely transformed.
Once the wallpaper is dry, you can move on to the fun part of adding your art. For some great ideas on that, check out our guide on how to hang posters without frames. Now, stand back and admire your work. You've earned it.
Styling Your Feature Wall with Killer Art
Right, the wallpaper is up. The paste is dry. High fives all round. But hold on, the job’s not quite finished. Your feature wall is the main stage, but now it’s time to bring on the headliner—your art. A bare feature wall is like a festival with no bands; it looks the part, but the magic is missing.
Accessorising is where you turn a nice wall into a knockout personal statement. It's about finding the perfect prints that complement your new backdrop, not get into a shouting match with it.
Finding The Perfect Supporting Act
The golden rule here is balance. Think of it like putting together a killer playlist; you need a mix of bangers and slower tunes. If your wallpaper is loud and proud, like a chaotic floral or a bold geometric pattern, your art needs to be the chill acoustic track.
Go for something with plenty of negative space—a minimalist print with a single, powerful line of text or a clean, graphic illustration of your favourite football stadium. This gives the eye a place to rest and stops the whole wall from feeling like a visual panic attack.
A busy wallpaper paired with a busy print is the design equivalent of playing two different songs at the same time. It’s just noise. Let one element take the lead vocal and the other provide the perfect harmony.
On the flip side, if you've chosen a more subtle, textured wallpaper, this is your cue to go absolutely wild. This is your chance to build that gallery wall you’ve always dreamed of, filled with your favourite album covers, iconic match-day photos, and lyric prints that mean the world to you. We've got loads of inspiration for creating the perfect arrangement in our guide to bedroom wall art.
A Non-Boring Guide To Scale And Colour
Getting the scale right is crucial. A tiny print on a massive wall will look lost and apologetic, like a support band playing an arena. A huge, bold lyric print, however, can anchor the entire room and give it a powerful focal point. Don’t be afraid to go big.
Colour is your other secret weapon, and you don’t need a degree in art to get this right. Just look for a secondary colour in your wallpaper and find a print that picks up on that same shade. For example, a dark, moody floral paper with tiny flecks of yellow will look incredible with a vibrant Oasis lyric print that features a bold, sunshine-yellow font.
This approach isn't just about aesthetics; it's part of a massive trend. The UK wallpaper market has seen consumption jump by 10%, reflecting a huge appetite for personalised interiors. This boom is all about transforming spaces with bold patterns and unique art. It’s all about creating layers of personality and making a space that is unapologetically yours, often mixing wallpaper with other forms of wall art to enhance its overall impact.
Common Questions Your Mates Can't Answer
Right, you’re on the home stretch. The wall is prepped, the paper is (mostly) up, and you're feeling pretty chuffed with yourself. But now, the niggling questions start popping up – the kind your mates, with all their pub-quiz wisdom, just can’t answer. Let's tackle these common head-scratchers so you can finish your project with the swagger of a seasoned pro.
Can I Just Wallpaper Over The Old Stuff?
The short answer? No. The long answer? Please, for the love of all that is holy, do not do this.
I get the temptation, I really do. Stripping old wallpaper feels like a chore sent from the depths of DIY hell. But slapping new paper over the old stuff is like putting a fresh Man City kit on over last season's muddy one – it’s just covering up the problem. You'll end up with lumps, bumps, and peeling seams. Worse yet, the old pattern might even bleed through.
Trust me on this one. Taking the time to strip it back to a clean, smooth wall is the only way to get a finish that looks sharp and will actually last.
How Much Wallpaper Do I Actually Need?
There’s nothing worse than being two strips from the end and realising you’ve run out of paper. It’s a genuine DIY catastrophe.
Here’s a simple way to avoid that last-minute panic:
- Measure the width of your feature wall in metres.
- Divide that number by the width of your wallpaper roll (this is usually around 0.52m). This tells you how many "drops" or vertical strips you'll need.
- Now, measure the height of your wall. Multiply this by the number of drops you calculated.
- Finally, add about 15% extra. This is your contingency fund. It accounts for matching up patterns and those inevitable moments where you cut something the wrong way round. It's far better to have a bit left over than to be scouring the internet for the same batch number weeks later.
Always buy all the rolls you need in one go. Different batches can have slight colour variations that you won’t notice until they're on the wall, and by then, it's too late.
Which Is The Best Wall To Choose?
As a rule of thumb, the best wall for a feature is the one you see first when you walk into the room. In a bedroom, this is almost always the wall behind your bed's headboard.
Making this wall the focal point creates a natural sense of order and drama. It anchors the bed – the most important piece of furniture in the room – and immediately draws the eye. Choosing a random side wall can just feel a bit... off. It's like a guitarist playing a solo with their back to the audience. You want to go for the main event.
Ready to pair that perfect wallpaper with some equally brilliant art? The Striped Circle collection has the perfect prints to complement any style, from bold Oasis lyrics to minimalist stadium designs. Find the finishing touch that makes your bedroom wallpaper feature wall truly sing. Check out the full collection at stripedcircle.com.
