
How to Frame Posters Without Having a Total Meltdown
Right, let's get one thing straight. Framing a poster is dead simple: clean the frame's glass, carefully pop your print inside, secure the backboard, and Robert's your mother's brother. That's the long and short of it. This simple act of love not only saves your art from a tragic, tea-stained death but also turns it from a sad, rolled-up tube of potential into a proper, grown-up centrepiece for your wall.
Give Your Prized Prints the Frame They Deserve
Let’s be honest, that glorious print of Cantona’s collar-up celebration or Pulp’s iconic album art deserves better than blu-tack and curled corners. You’ve invested in a piece of culture that makes you smile, so it’s time to give it the VIP treatment it deserves. Blu-tack is for teenage bedrooms and "live, laugh, love" posters. You're better than that.
This isn’t some stuffy, art-gallery guide read by people who use words like "provenance". Think of it as a real-world plan for framing posters to make them look absolutely mint, protect them from rogue cups of tea, and turn your walls from bland to brilliant. A good frame really is the ultimate wingman for your print, transforming it into a proper focal point that honours your impeccable taste in music, football, and film.
So, Why Bother Framing in the First Place?
You might be wondering if it's really worth the faff. In a word: absolutely. An unframed poster feels temporary, like a festival romance. A framed one is a statement. It says, "I've got my life together, and my taste in music is still as good as it was in 1995." It's a key part of learning how to decorate walls with personality and style, rather than just filling empty gaps.
But framing offers more than just good looks; it's also about preservation. A solid frame protects your print from all sorts of trouble:
- Dust and dirt: Keeping the colours looking sharper than Noel Gallagher's wit.
- Accidental rips and creases: No more heartbreaking tears from a clumsy moment.
- Fading: Especially if you opt for UV-protective glazing, which is like Factor 50 for your art.
- Moisture: Preventing that wavy, warped look that screams "I've had a hard life."
A well-chosen frame doesn't just contain the art; it completes it. It's the difference between shouting your love for Oasis from the rooftops and subtly nodding to their genius with a perfectly presented piece on your living room wall.
You Are Not Alone in This Quest
If you're getting into personalising your space, you're in good company. The UK picture framing market has seen steady growth, driven by a shared desire to make our homes and offices feel more like us and less like a dentist's waiting room.
In fact, between 2022 and 2030, the market is projected to grow at a compound annual rate of around 3.6%. This reflects a rising demand for frames in both homes and professional spaces, as more people realise the impact of well-presented art. You can check out more insights on the UK's growing love for picture frames on Straits Research.
So, you're not just framing a poster; you're taking part in a cultural shift towards creating spaces that truly reflect who we are. In the following sections, we'll walk you through the simple tools and techniques that make this process a breeze, ensuring your art gets the respect it deserves.
Choose the Right Frame for Your Poster
Right, let's get down to it. Choosing the right frame isn't about following some stuffy rulebook; it’s about catching the right vibe for your poster. The frame you pick can make your print sing like Freddie Mercury or mumble like a shoegaze B-side.
Think of it as a matchmaking game. That minimalist Joy Division print with its iconic waveform is probably calling out for a sleek, no-nonsense black metal frame. On the other hand, a vintage print of Bobby Moore lifting the World Cup deserves the warmth and gravitas of a classic wooden frame to feel properly authentic. You're the Cilla Black of wall art here.
Material Matters: Wood vs. Metal vs. Plastic
The material of your frame sets the entire tone. Each one has its own personality, and figuring out which suits your poster—and your room—is the first big decision.
Let's break down the main contenders.
-
Wood Frames: The undisputed champion of classic cool. Wood brings a natural, timeless warmth that works with almost anything. It's the Liam Gallagher of frames—a bit traditional but always looks the part. Perfect for vintage-style football prints or classic album art that needs a touch of class.
-
Metal Frames: Clean, modern, and sharp as a tack. Metal frames, especially thin black or silver ones, are ideal for minimalist designs, graphic prints, and black-and-white photography. They don't shout for attention; they just quietly make your art look incredibly cool and contemporary.
-
Plastic Frames: Don’t knock 'em 'til you've tried 'em. While some can feel a bit cheap, modern plastic (or Polcore) frames are lightweight, durable, and come in every colour under the sun. They’re a fantastic, budget-friendly choice for creating a vibrant gallery wall or for that massive Pulp poster you snagged at a gig.
This preference for classic materials isn't just a hunch; it's a real trend. The European picture frame moulding market has seen steady growth, hitting a CAGR of around 4.6% recently. Wooden mouldings are the top dog in this arena, proving most of us still lean towards that timeless, handcrafted feel. You can read more about the trends shaping the European frame market to see just how popular classic styles are.
Frame Material Face-Off: Which One Suits Your Style?
Struggling to decide between wood's classic charm and metal's modern edge? This quick comparison should help you pick a winner.
| Frame Material | The Vibe | Best For... | Watch Out For |
|---|---|---|---|
| Wood | Classic, warm, and authentic. The old-school hero. | Vintage prints, traditional art, adding warmth to a room. | Can be heavier and pricier. Make sure the wood tone fits your decor. |
| Metal | Modern, sleek, and minimalist. The cool, quiet type. | Graphic designs, photography, contemporary posters. | Can feel a bit cold in a cosy, traditional room. |
| Plastic/Polcore | Fun, versatile, and budget-friendly. The life of the party. | Colourful gallery walls, kids' rooms, oversized prints. | Quality can vary, so avoid anything that looks too flimsy or cheap. |
Ultimately, the best material is the one that makes your poster look its absolute best on your wall.
Colour Your World: Black, White, or Something Bolder
Once you’ve picked a material, it’s time to think about colour. A frame's colour can completely change a poster's impact, either making it pop or helping it blend seamlessly into your decor.
A classic black frame is the little black dress of the framing world—it goes with everything and always looks smart. It provides a sharp, defined border that makes the colours within really stand out. A white frame, by contrast, offers a brighter, airier feel, perfect for modern prints or creating a fresh, Scandi-inspired look.
But don't be afraid to go bold. A coloured frame that picks up a minor hue in your poster can be a total game-changer. Imagine a splash of bright yellow to match the submarine on your Beatles print—it’s a move that shows confidence and personality. If you're looking for inspiration on how a great frame can tie a room together, check out our guide to framed pictures for the living room.
The Great Glazing Debate
The 'glass' in your frame, known as glazing, is the final piece of the puzzle. It’s what stands between your beloved print and the cruel, cruel world of dust, fingerprints, and the occasional spilt cuppa.
You've really got two main options here:
- Standard Glass: This offers brilliant clarity and has that weighty, premium feel. It’s also scratch-resistant, which is a big plus. The downside? It’s heavy and can shatter into a million heart-breaking pieces if it takes a tumble.
- Acrylic (Perspex): This is a fantastic modern alternative. It’s lightweight, shatter-resistant, and often has better built-in UV protection. It’s the perfect choice for valuable prints you want to protect from fading, or for any room where flying footballs (or kids) are a possibility.
For most posters, high-quality acrylic is the way to go. It gives you peace of mind without sacrificing clarity, ensuring your art stays pristine for longer than a one-hit-wonder's career. Your heroes on the wall deserve nothing less.
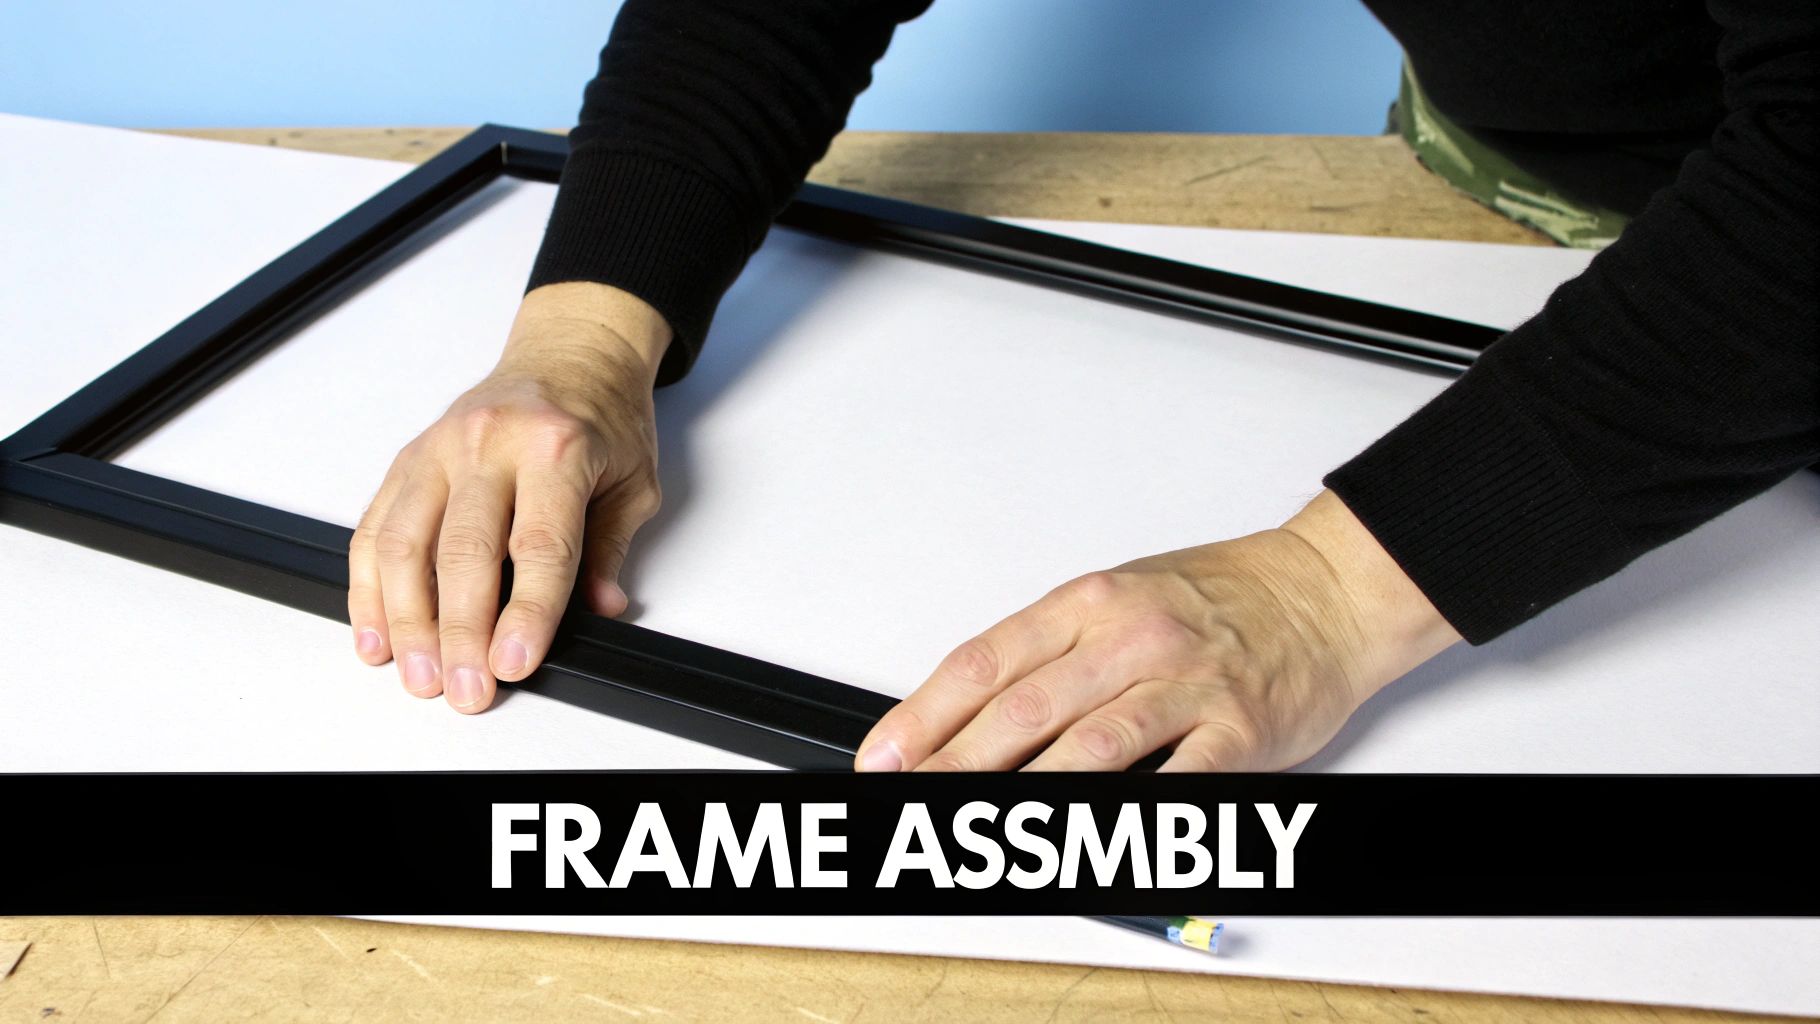
Putting It All Together: The Final Assembly
Right, you’ve gathered your supplies, your poster is ready, and your frame is waiting. This is where it all comes together. Getting this stage right is what separates a professional-looking job from something that looks like it was assembled in a hurry during a Champions League ad break.
First things first, set up your workstation. A clean, flat table is ideal—just make sure you’ve wiped off any crumbs. I always lay down a soft towel or an old, clean bedsheet to protect both the frame and the glazing from any accidental scratches. A good playlist helps, too; framing should be a satisfying job, not a stressful one.
This whole process is part of a bigger trend. People are taking real pride in making their homes their own, and the numbers back it up. The global market for posters and frames hit a massive $6.6 billion in 2024 and is projected to reach nearly $9.8 billion by 2035. This isn't just about decoration; it's about personal expression. You can explore the trends driving the poster and frame market to see just how much personal style is influencing our living spaces.
The Great Clean-Up
Before anything goes into the frame, you have to get that glazing—the glass or acrylic sheet—spotless. It will almost certainly have a layer of dust or a few smudges straight out of the packaging.
Grab a microfibre cloth and a gentle glass cleaner. A quick word of warning: if your frame has acrylic glazing (often called Perspex), double-check that your cleaner is safe for it. The wrong chemicals can make it go cloudy. Here’s a little trick I’ve picked up: spray the cleaner onto the cloth, not directly onto the surface. This stops any liquid from creeping under the frame's edges.
Wipe it carefully and then hold it up to a light source. This is the best way to spot any sneaky streaks you might have missed. Trust me, there’s nothing worse than sealing everything up only to spot a massive thumbprint on the inside of the glass.
The infographic below offers a great visual summary of the whole process, from prep to the final hanging.
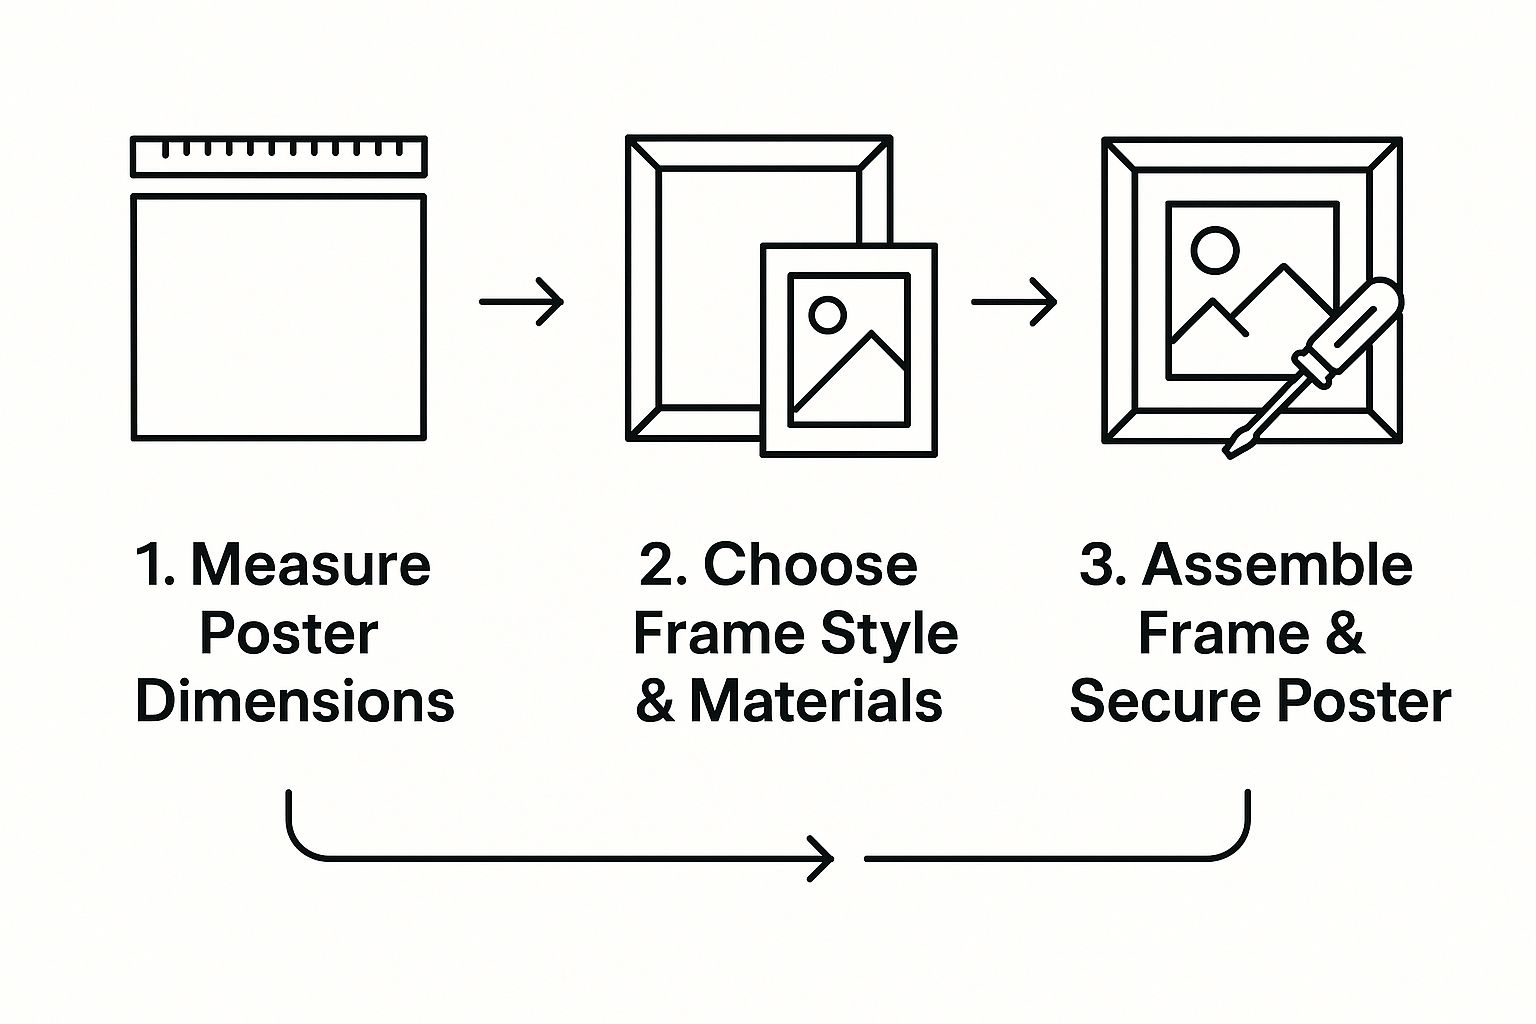
It’s a handy roadmap that proves with a bit of care, you can get a fantastic result every single time.
Placing Your Print with Precision
Now for the moment of truth: positioning your poster. First, wash and dry your hands thoroughly. You don’t want the oils from your skin leaving marks on the paper.
Gently lay the poster face down onto the newly cleaned glazing. If your print has been stored in a tube, it’ll probably want to curl up. To fix this, you can lay it on a flat surface and place a few heavy (and clean!) books on the corners for a couple of hours beforehand.
With the poster positioned perfectly, it's time to add the backboard that came with the frame. This completes the "sandwich" that holds your artwork securely in place.
Top Tip: To prevent your poster from sagging or slipping over time, use a couple of small pieces of acid-free tape. Attach the tape to the top edge of the back of the poster and then stick it to the backing board. This creates a simple hinge, allowing the artwork to hang naturally without sliding down inside the frame.
Securing the Backboard Like a Pro
With everything aligned, you can finally seal the deal. Most frames use either flexible metal tabs or small rotating clips on the back to hold everything in. Your goal is to fasten these down to create snug, even pressure.
Work your way around the frame, pressing each tab or turning each clip. A good technique is to alternate sides as you go, much like tightening the nuts on a car wheel. This helps distribute the pressure evenly and stops the backboard from bowing.
Before you call it a day, run through this final checklist:
- Is it snug? The poster, glazing, and backboard should all feel secure. Nothing should rattle when you give it a gentle shake.
- Is it clean? Give the front of the glazing one last wipe to get rid of any fingerprints from handling it.
- Is it dust-free? For a perfect finish, a quick puff from a can of compressed air just before you place the backboard can dislodge any stray dust particles that found their way in.
And that’s it—mission accomplished. You’ve taken a simple print and turned it into a proper piece of art, ready to take pride of place on your wall. Time to make a cuppa, step back, and admire your work.
To Mat or Not to Mat? That Is the Question
Now, let’s talk about the unsung hero of the framing world: the mat board. Or 'mount', as it’s often called here in the UK. It’s that crisp border sitting between your poster and the frame, and frankly, it's a total game-changer. Think of it as the hype man for your print—it makes the entire piece look more important, more deliberate, and a whole lot classier.
You might be tempted to skip it, thinking, "It's just a bit of card, isn't it?" But a mat does some seriously heavy lifting. It creates crucial breathing room, a bit of visual space that stops your Stone Roses poster from feeling like it’s being suffocated by the frame. This gap naturally draws the eye inwards, making the artwork the undisputed star of the show.
More Than Just a Pretty Border
Beyond the aesthetic upgrade, a mat serves a vital practical purpose. It creates a tiny air gap that keeps your poster from touching the glazing (the glass or acrylic). This is more important than it sounds. Without that space, changes in humidity can trap moisture between the print and the glass, leading to potential damage, discolouration, or even the poster sticking permanently to the surface over time.
Basically, a mat is your print's personal bodyguard. Considering you’ve invested in a piece of art you love, giving it that extra layer of protection is a no-brainer.
Choosing Your Mat Colour
This is where you get to inject a bit more personality. The colour you choose for your mat can either subtly support the artwork or add a dramatic punch.
Here’s a quick rundown of your main options:
- Crisp White or Off-White: This is the classic for a reason. It’s clean, timeless, and makes the colours in your poster pop. You simply can’t go wrong with it, especially for bold, graphic prints or iconic black-and-white photos.
- Black: A black mat brings the drama. It’s a powerful choice that creates a deep, moody border, perfect for darker prints or artwork where you want to create a really intense focal point.
- Coloured: Feeling adventurous? A coloured mat can be a brilliant move. The trick is to pick a subtle accent colour from within the poster itself. Got a print with a tiny splash of red in a logo or a footballer's kit? A thin red mat can tie the whole look together beautifully.
A well-chosen mat elevates a simple poster into something that looks like it belongs in a gallery. It’s the difference between just hanging a print and properly presenting it. It shows you’ve really thought about the details.
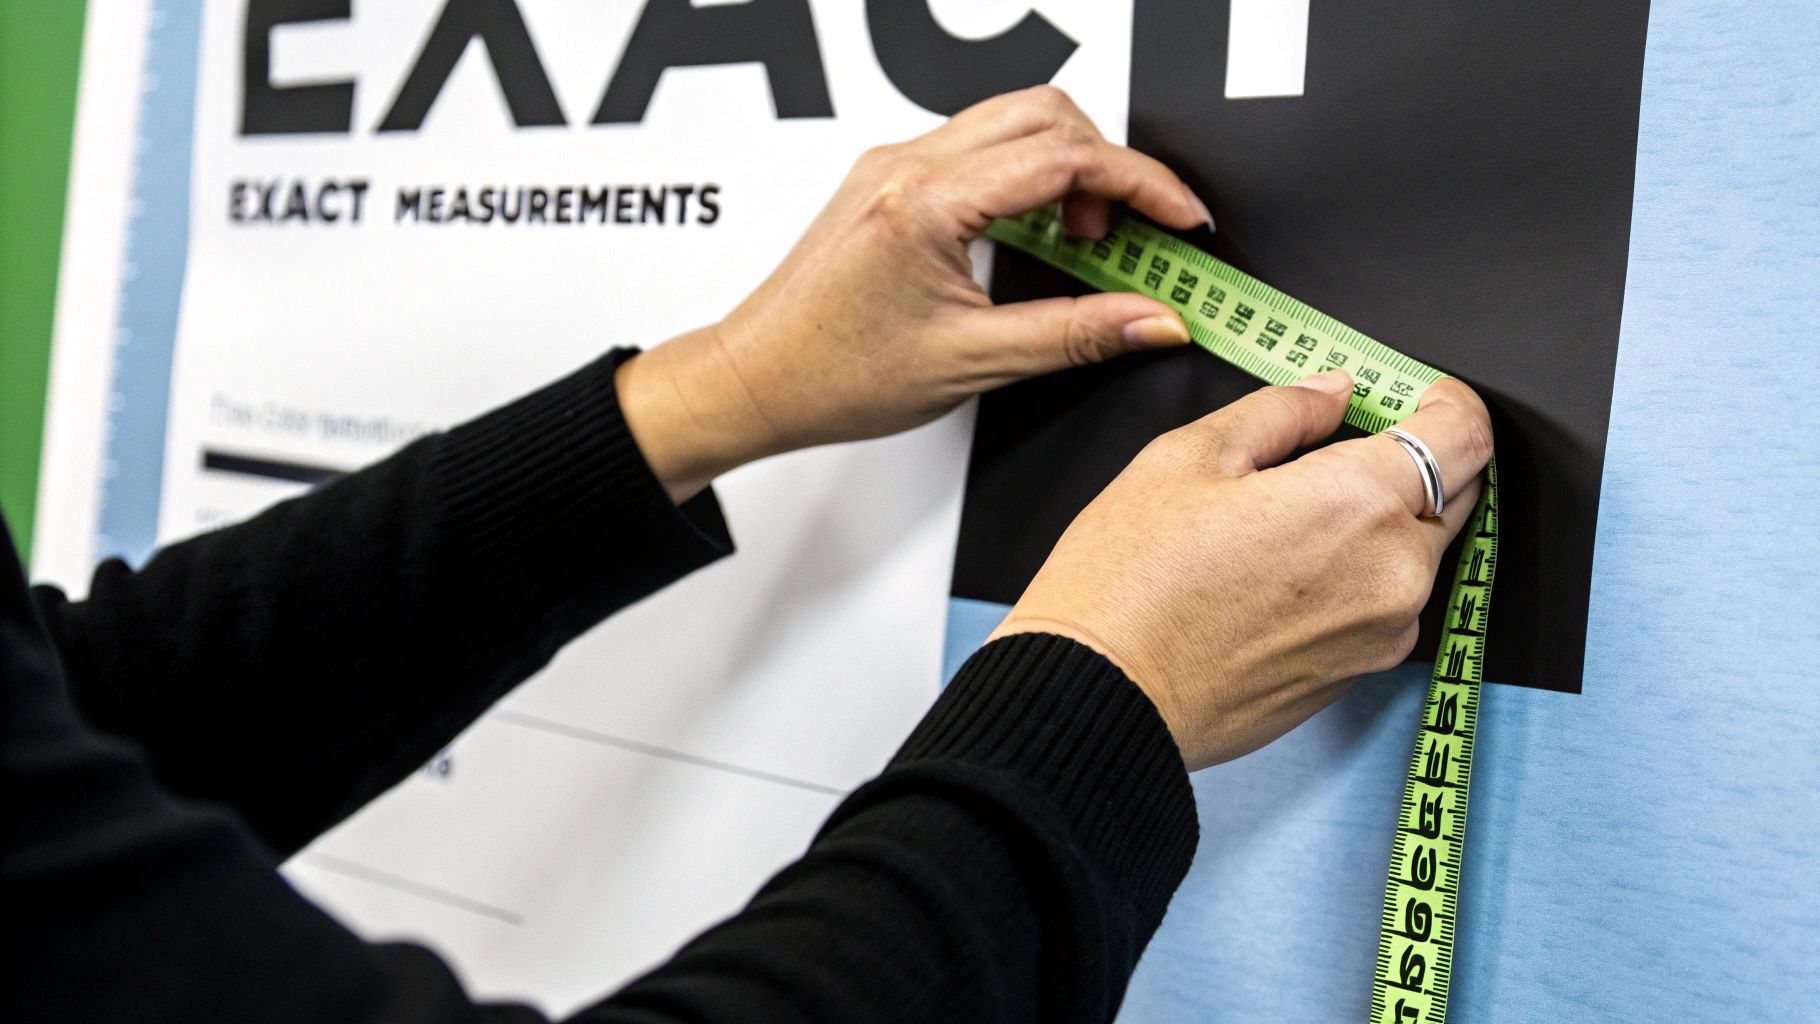
Getting the Measurements Right
Okay, so you're sold on the mat. How do you get the size right? The goal is to have the mat window (the opening) slightly smaller than your poster, so it overlaps the edges by about a quarter of an inch (around 5mm) on each side. This is crucial for stopping the poster from falling right through the gap.
Most pre-cut mats come in standard sizes, so you'll need two key measurements:
- The Outer Dimensions: This must match the inside dimensions of your frame. So, if you have a 50x70cm frame, you need a mat that is exactly 50x70cm.
- The Inner Aperture (Window): This is the opening for your poster. For an A3 poster (29.7 x 42 cm), you’d look for a mat with an aperture of roughly 29 x 41 cm.
Always, always measure your actual print before buying. Poster sizes can sometimes vary slightly, and getting it spot on is key to that sharp, professional finish. It’s a small step that makes a massive difference, ensuring your artwork looks polished and perfectly centred every single time.
Hang Your Art Without Wrecking the Walls
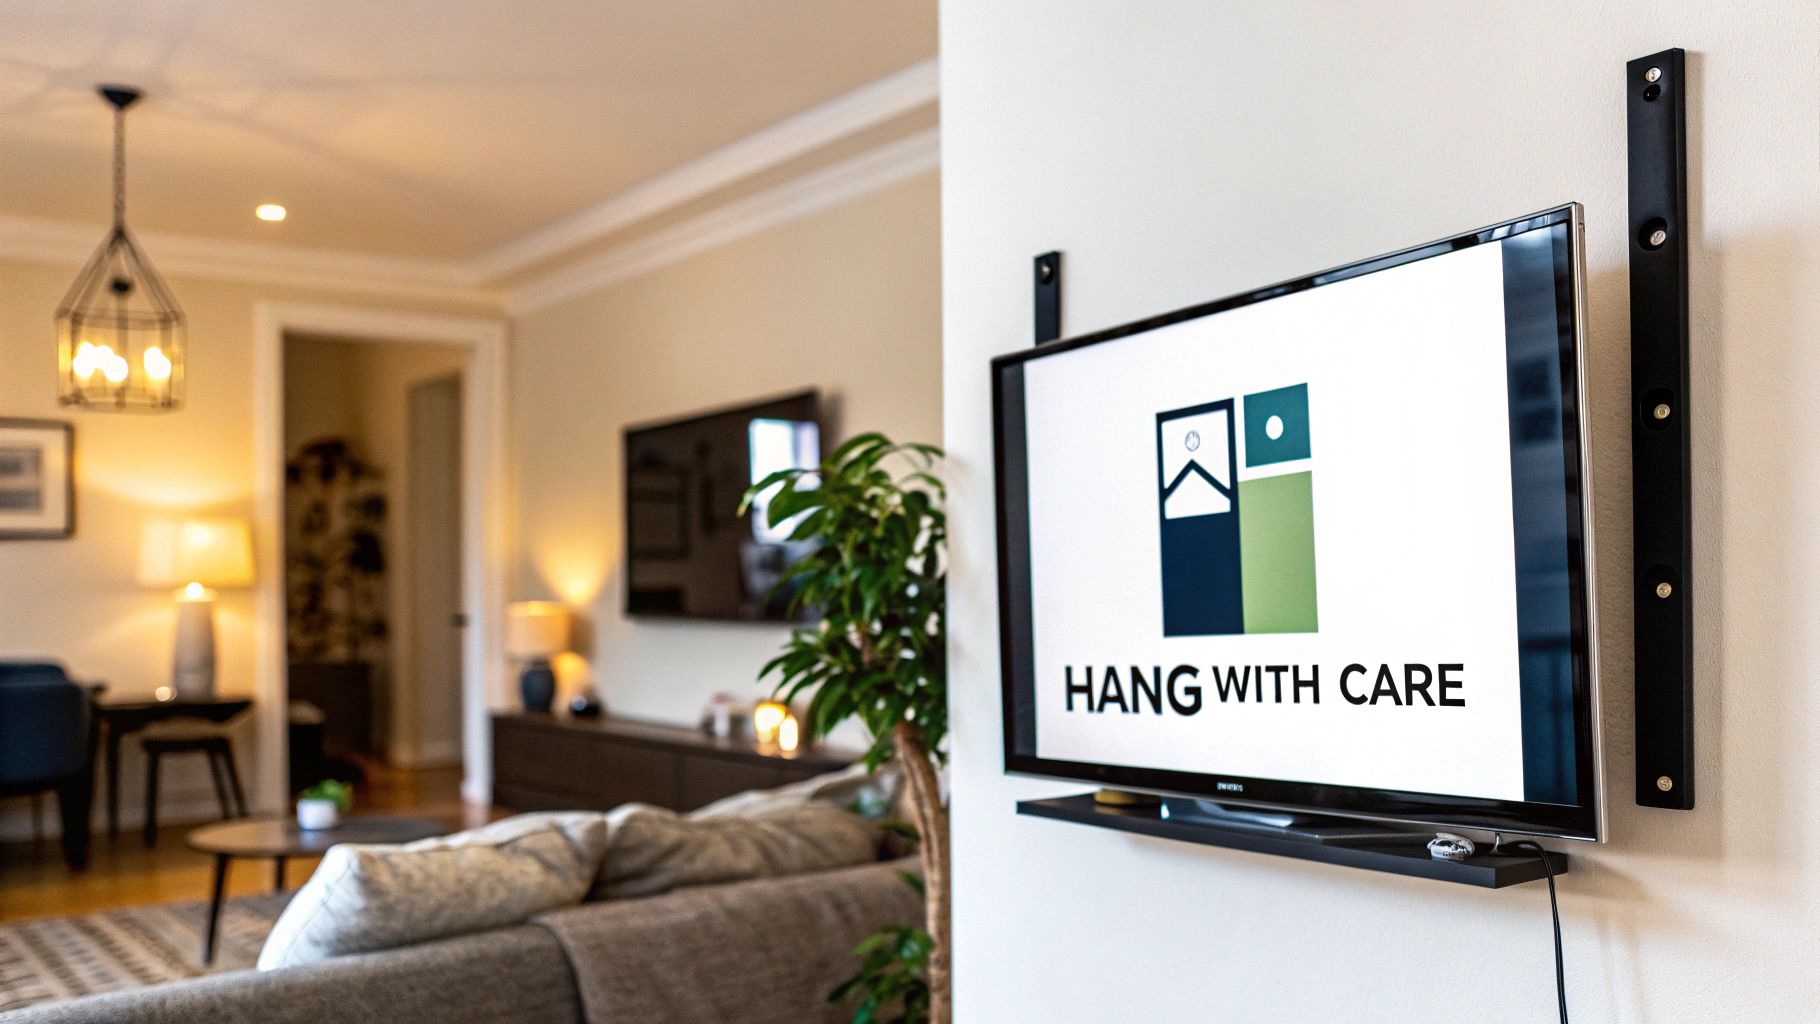
Right, the final hurdle. Your poster is framed and looking sharp, ready for its grand debut on your wall. This is the moment you get to transform a blank space into a proper statement, but let’s make sure we do it without turning your plasterboard into Swiss cheese.
Getting your masterpiece hung securely is the last, and arguably most important, job. A wonky frame can ruin the entire vibe quicker than a dodgy Wi-Fi signal. All your hard work deserves a strong finish, so let's get this done right.
Choose Your Fixings Wisely
Not all walls are created equal, and your choice of fixing depends entirely on what you’re drilling into. Getting this wrong is the difference between a securely hung piece of art and a sudden, heartbreaking crash in the middle of the night.
- Solid Brick Walls: If you’re dealing with proper brickwork, you’ll need a drill, a rawl plug, and a screw. It’s a bit of effort, but that frame isn’t going anywhere.
- Plasterboard (Stud Walls): This is what most modern homes are made of. A simple nail just won't cut it here; it’ll crumble the plaster. You'll want specialist plasterboard fixings—these clever things expand behind the board to create a secure anchor.
Don’t just guess. Do the tap test: a solid wall sounds dull and unforgiving, while plasterboard will have a tell-tale hollow sound. Using the right tool for the job is non-negotiable.
The Art of Getting It Level
For this mission, your most important tool is a spirit level. Don't even think about "eyeballing it," unless you enjoy the sensation of tilting your head every time you walk into the room.
First, decide on the height. A great rule of thumb is to hang art so its centre is at eye level, which is roughly 57 inches (about 145 cm) from the floor. But hey, it's your gaff—if it looks right to you, it is right.
Once you’ve picked your spot, hold the frame against the wall and get someone else to stand back and give you the thumbs up. Use a pencil to make a tiny, faint mark at the top centre of the frame. Now, measure the distance from the top of the frame to its hanging point (the wire or hook on the back). Measure that same distance down from your pencil mark on the wall, and that’s precisely where your nail or screw goes.
For bigger, heavier frames—like a massive panoramic print—use two hooks instead of one. Place them about a third of the way in from each side of the frame. This distributes the weight evenly and stops the frame from tilting every time a door slams.
Creating Your Own Gallery Wall
Why stop at one print when you can curate a whole gallery wall? This is your chance to create a collection that screams you. Mix your favourite band posters with iconic prints and maybe a weird bit of pop art you love. There are no rules, but a bit of planning goes a long way.
Before you start hammering, lay all your frames out on the floor. Measure the total space you want to fill on your wall and tape off a corresponding area on the floor. This lets you play around with the arrangement without putting a single hole in the wall.
Try to keep the spacing between frames consistent—around 2-3 inches is usually a good bet. It creates a clean, cohesive look, even if the frames themselves are all different styles and sizes. For a deeper dive, our guide on how to arrange wall art has all the insider tips you need.
Start by placing your largest piece first, usually slightly off-centre, and build everything else out from there. Don't be afraid to mix horizontal and vertical frames to keep things visually interesting. And just like that, you’ve gone from a blank canvas to a wall that tells your story. Now, stand back and admire a job well done.
Your Top Framing Questions Answered
Still got a few questions rattling around in your head? Don't worry, you're not the only one. When you're just getting started with framing posters, a few details can easily trip you up. Let’s tackle some of the most common queries I hear, so you can get those final puzzles sorted and crack on.
It’s a bit like trying to figure out the offside rule for the first time; it seems complicated until someone just gives you a straight answer. So, let's clear up the confusion.
Should I Use Glass or Acrylic for My Poster Frame?
Ah, the classic debate. This is the framing world’s equivalent of Oasis vs. Blur, and the right answer really depends on where you plan to hang your print and what your budget looks like.
Glass gives you perfect clarity and has that premium, weighty feel. The downside? It’s heavy and can shatter into a million pieces if it takes a knock. Acrylic, often sold under the brand name Perspex, is a fantastic modern alternative. It’s lightweight, shatter-resistant, and often comes with better UV protection built-in, which is a massive plus for keeping colours vibrant.
This makes acrylic the ideal choice for valuable prints, or frankly, any room where an impromptu game of indoor footy might break out. For most posters, especially that signed Courteeners print you treasure, high-quality acrylic is a brilliant, safe choice.
How Big Should the Frame Be Compared to the Poster?
Right, let’s get the tape measure out. If you’re not using a mat (or a mount, as it's often called), this is dead simple. The internal size of the frame needs to match your poster's dimensions exactly. So, an A3 poster goes into an A3 frame. Job done.
But if you are using a mat, you’ve got a bit more creative freedom. A good rule of thumb is to add a mat border of 2-3 inches on all sides. This gives it a really professional, gallery-style look. For an A3 poster (29.7 x 42 cm), for instance, adding a 2-inch mat would bring the total size up to around 40 x 52 cm. You’d then need to buy a frame that fits those new dimensions.
Can I Frame a T-Shirt the Same Way as a Poster?
Not quite, mate. Framing a fabric item like a beloved old band t-shirt or a football scarf is a different ball game entirely. Because of the thickness of the material, you’ll need a much deeper frame called a shadow box frame.
Instead of just sandwiching it behind glass, you’ll need to mount the fabric onto an acid-free foam board first. This is usually done with special pins or a clever stitching method to make sure it sits flat and doesn't end up sagging over time like a festival tent in the rain. It takes a bit more effort, but it’s definitely worth it for a proper piece of memorabilia.
At Striped Circle, we believe your walls should tell your story with prints that celebrate your passions. From iconic album art to legendary football moments, our collection is curated to make you smile.
Find the perfect piece to start your framing journey at https://www.stripedcircle.com.
