How to hang posters without frames: Easy, damage-free tips to elevate your wall
Hanging posters without frames really comes down to a few clever, damage-free methods. Think poster putty, Command Strips, or even decorative washi tape. These options let you stick your favourite prints directly onto the wall, which saves you the cost of a frame and the hassle of VAR checks on whether you’ve drilled a hole in the wrong place. It’s the perfect solution if you're renting or just someone who loves to switch up their decor more often than Man City changes their away kit.
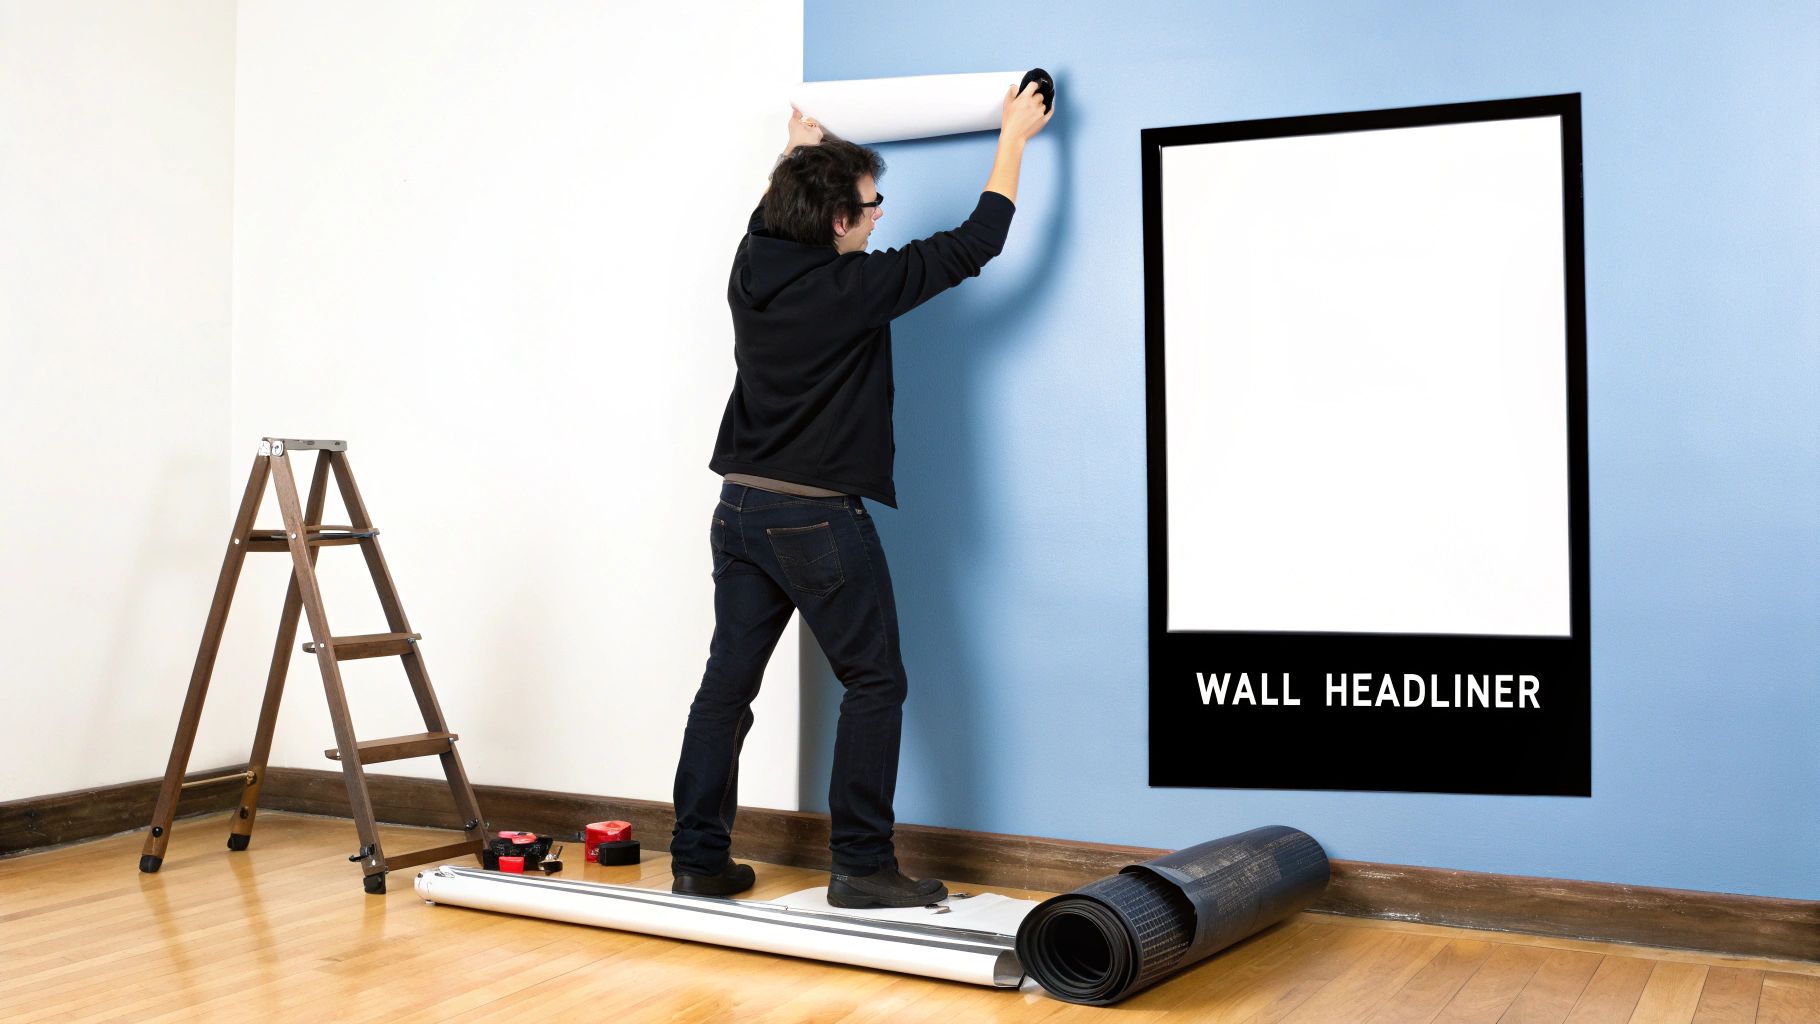
Give Your Walls the Headliner Treatment
Let's be honest, a bare wall is a creative crime. It's like a festival with no bands, a derby day with no banter, or Oasis without the Gallagher brothers' bickering. Your walls are crying out for some personality, and those amazing football, music, and pop culture prints shouldn't be trapped in a cardboard tube forever. It's time to set them free and give your space the main-stage energy it deserves.
Consider this guide your backstage pass to ditching expensive, heavy frames and embracing the world of frameless hanging. We’re talking about stamping your unique style all over your home or office without the faff of drills, hammers, or risking that security deposit. It's all about making your space look epic, the easy way.
Why Go Frameless?
Going frameless isn't just about saving a few quid; it's a whole vibe. It gives your prints a clean, minimalist look that feels effortlessly cool—think of it as the rock-and-roll approach to decorating. No fuss, no drama, just pure, unadulterated style.
Of course, to give your walls the headliner treatment, you need to start with artwork that really speaks to you. If you’re a motorsport fanatic, for example, you could check out a guide to choosing the perfect posters to find prints that get your engine running.
Choosing to hang posters without frames allows for so much more flexibility and creativity. You can easily swap out prints, build dynamic gallery walls, and experiment with different layouts without committing to permanent fixtures. It’s like having your team on a rolling contract – total control.
Our own guide on how to decorate walls offers even more inspiration for completely transforming your space. This is your chance to turn a simple room into a visual mixtape of everything you love.
Right, let's get those posters on your wall without leaving a single mark. Whether you’re trying to display that incredible print of Freddie Mercury at Wembley or Haaland’s latest screamer, you need a solid game plan. Here’s a look at the top three players in the frameless hanging game, perfect for keeping your walls pristine and your landlord smiling.
Before you stick anything up, prep your surface. Think of it like a pre-match warm-up – absolutely essential. A quick wipe with a clean, dry cloth gets rid of any dust or grime that might mess with your adhesive. A clean wall is a happy wall.
The Reliable Renter-Friendly Option: Poster Putty
Poster putty is basically the James Milner of wall decor. Reliable, versatile, and it just gets the job done without any fuss. It's brilliant for when you fancy a seasonal switch-up—moving your favourite festival poster into the spotlight for summer, then swapping it for a cosy film print when winter rolls around.
Just tear off a small piece, knead it until it's soft and warm (like a plasticine stress ball), and pop little blobs on the corners of your print. Press it firmly against the wall, and you're golden. This is your go-to for lighter paper prints and it won’t leave a mark, which is a massive win for renters. In the UK, where there are over 4.4 million private rented households, going damage-free is the only way to play.
The Heavy Hitter: Command Strips
Now, for your bigger, weightier prints, you need to bring in the big guns: Command Strips. These are the Virgil van Dijk of the adhesive world—strong, reliable, and they leave no trace when the job is done. They can handle a lot more weight than putty, making them perfect for thicker cardstock or laminated posters of your team lifting a trophy.
The real genius is in their two-part system. One strip sticks to your poster, the other to the wall, and they lock together with a really satisfying click. When it’s time for a change, you just gently pull the tab, and it stretches right off. No residue, no panic.
The boom in frameless hanging methods is no surprise, especially in the UK rental market. A 2022 survey found that 68% of landlords cited wall damage as a top reason for keeping part of a deposit, which makes these damage-free options a renter’s best friend. For more ideas, you can find great damage-free decorating tips for rented homes online.
The Creative Winger: Washi Tape
Finally, let's talk about washi tape. This isn't just an adhesive; it's a creative statement. Think of it as the Jack Grealish of hanging methods—all flair and style. This decorative paper tape comes in thousands of colours and patterns, so you can create a custom, colourful border right around your print.
You could frame your poster with a neat, clean edge, or go for a more relaxed, torn-tape vibe. It’s a fantastic way to inject some extra personality and tie the print into your room's colour scheme. The low-tack adhesive is gentle on both your print and your wall, so it’s easy to reposition or remove. This approach taps into a bigger trend in home decor; the UK wall art market is booming, with wallpapers and stickers capturing a massive 34.59% revenue share in 2022.
Frameless Hanging Methods At a Glance
Still on the fence? Here’s a quick comparison of our top three damage-free methods to help you choose your weapon.
| Method | Best For | Damage-Free? | Vibe Check |
|---|---|---|---|
| Poster Putty | Lightweight paper prints, temporary displays, frequent changes. | Yes, if used correctly. | The James Milner: reliable and versatile. |
| Command Strips | Heavier cardstock, laminated posters, semi-permanent displays. | Yes, when removed as instructed. | The Virgil van Dijk: a defensive powerhouse. |
| Washi Tape | Adding a creative border, colour-coordinating with decor. | Yes, low-tack adhesive is gentle. | The Jack Grealish: all about the flair. |
Each of these has its place, and the best choice really comes down to the weight of your poster and the look you’re going for. Happy hanging.
7 Creative Ways to Display Your Prints
Right, you’ve mastered the basics of hanging posters without leaving a mark. Now it's time to get a bit more creative and turn that poster into a genuine feature piece. This is where we move beyond just sticking things to the wall and start thinking like a designer.
These next few methods are about adding a touch of personality and intentional style. Whether it's a vintage band poster or a modern art print, how you hang it can make all the difference.
To help you figure out the best approach, this little guide should point you in the right direction.
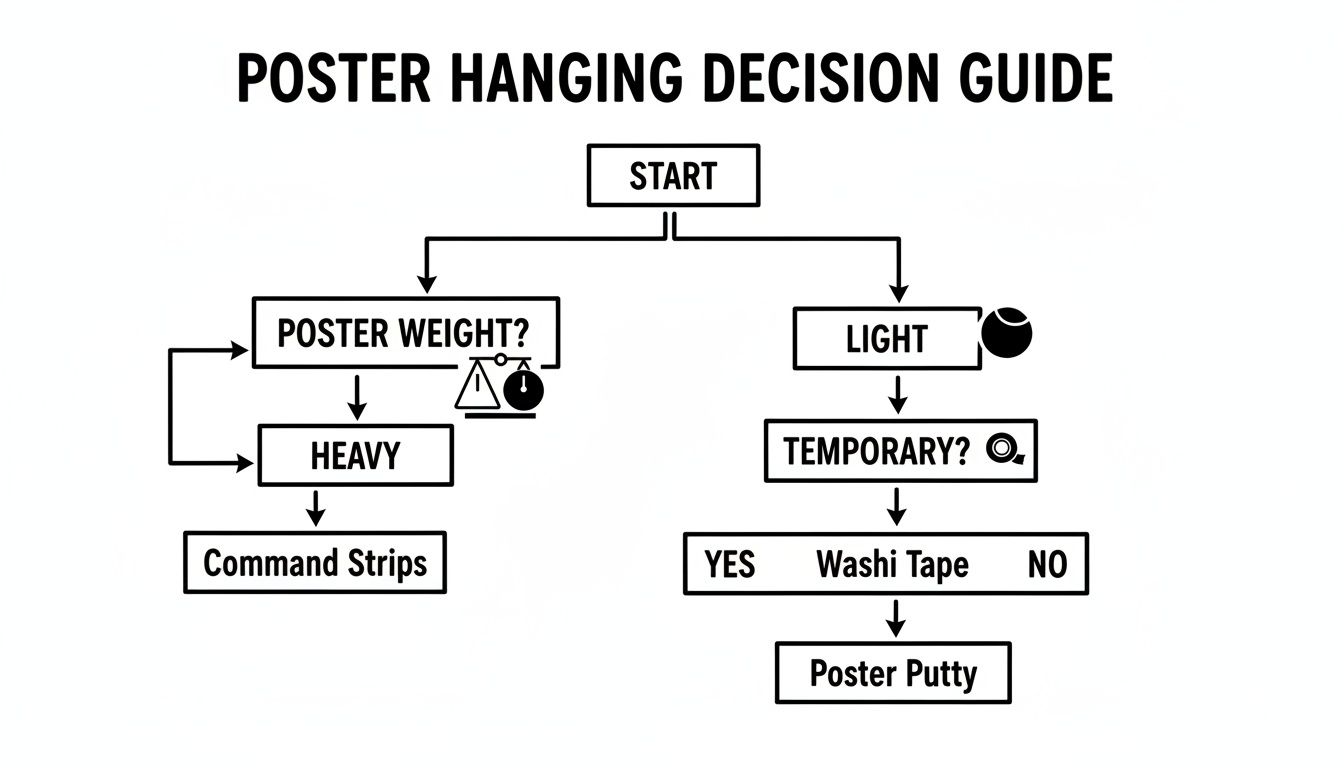
As you can see, for lightweight posters where you want a temporary or changeable display, things get a lot more interesting.
Think Beyond Blu-Tack
Let's get into the good stuff. These alternatives are simple to execute but deliver a stylish, almost studio-like quality to your space.
-
Bulldog Clips: For a sharp, industrial vibe, bulldog clips are brilliant. Just pop a small, clear Command hook or a tiny nail on the wall, hang the clip from it, and then clamp your poster in place. It’s a clean, minimalist look that makes swapping out prints a doddle.
-
Magnetic Poster Hangers: These have become incredibly popular for a reason. They consist of two pairs of wooden strips with strong magnets embedded in them, which clamp the top and bottom of your poster. They look sleek, keep your print perfectly flat, and add a polished finish without the expense or bulk of a full frame.
The Curated Studio Look
If you're aiming for a vibe that feels more deliberate and "put-together," these next options are fantastic. They add a bit of structure and a sense of thoughtful arrangement.
Another great option is using poster rails, sometimes called "poster snaps." They work in a similar way to magnetic hangers but use a snapping clamp mechanism to grip the top and bottom edges of the print. It’s a clean, professional look you often see in studios or exhibitions.
Think of your wall like a festival line-up. You've got your headliners—the big, bold prints—but the supporting acts are just as important. These creative methods ensure every print on your wall adds to the overall story.
Here's another trick I love for a home office or creative corner: stylish clipboards. Mount one (or a cluster of them) on the wall and simply clip your prints on. It creates a layered, dynamic display and makes it incredibly easy to refresh your art whenever you feel like it. It’s an effortless way to show you’ve put some real thought into your decor.
How to Curate the Ultimate Gallery Wall
One poster is a statement, but a gallery wall tells a story. It’s your own personal exhibition—a collection of your favourite bands, films, and sporting legends, all sharing the same space. But getting that effortlessly cool look without it descending into chaos takes a bit of planning.
Before a single poster even thinks about touching the wall, lay everything out on the floor. I'm serious about this. Measure the wall space you're working with, then tape out those same dimensions on your floor. This creates a canvas for you to play with until you get it just right. Think of it as your pre-match tactical briefing.
Nailing the Layout
The first move is to place your largest print—your hero piece—slightly off-centre. This acts as the anchor for the entire display, drawing the eye in without making the arrangement feel too stiff or formal. It's your star striker, the one everything else is built around.
Next, position your second-largest poster diagonally from the first. This simple trick creates a visual line that guides the eye across the space, forming the foundation of your layout. From there, you can start filling in the gaps to create a balanced, dynamic flow.
Here are a few pointers I've picked up over the years:
- Mix It Up: A blend of portrait and landscape orientations is crucial. Using only one or the other can look a bit rigid, whereas a mix keeps the eye moving and adds visual interest.
- Mind the Gap: Aim for consistent spacing between each poster, typically around 2-3 inches. This gives the collection room to breathe and prevents it from feeling cluttered or disjointed.
- Vary Your Sizes: Combining different sizes like A3, A4, and even smaller A5 prints creates a sense of rhythm and energy that you just don't get with a uniform grid.
Think of your gallery wall like a great festival line-up. You've got your headliner (the big piece), your solid support acts, and a few surprise gems dotted around. The goal is that perfectly curated look that seems effortless but was actually planned with care.
Finally, consider a theme to tie it all together. It could be a consistent colour palette, a journey through a band's discography, or a tribute to your team's greatest triumphs. For a deeper dive, our guide on how to arrange wall art has even more ideas to get you started. Follow this advice, and you’ll create a gallery wall that truly sings.
Right, let's talk about the common slip-ups people make when hanging posters. We’ve all been there – you step back to admire your new print, only to realise it’s hanging at a jaunty angle, looking like it’s had a few too many pre-match pints. Or even worse, you come home to find a corner has started to peel away, turning your masterpiece into a sad, droopy mess. Let's make sure that doesn't happen.
Common Hanging Mistakes to Avoid
The biggest fumble? Just slapping it on the wall and hoping for the best. Don't just eyeball it; your eyes will almost certainly deceive you. A much better approach is to grab your phone and use a spirit level app. It's a simple trick that guarantees a perfectly straight finish, even on the wonky walls you often find in older UK houses.
Another classic own goal is picking the wrong adhesive for your wall type or even the poster itself. For instance, using a standard putty on a heavily textured wall is asking for trouble. It just won't get a proper grip. Similarly, underestimating the weight of a heavy, high-quality art print will probably lead to it taking a nosedive in the middle of the night.
Test Your Adhesive First
Before you fully commit, always do a quick patch test with your adhesive in a spot no one will see, like behind the sofa or a bookshelf. This little bit of prep work can save you from the horror of discovering your chosen putty has left a greasy stain on a clean white wall. Think of it as a pre-season friendly before the main event.
This is absolutely crucial if you're renting. With 9.5 million adults renting in England alone, avoiding any kind of wall damage is a top priority. A 2024 report from Shelter UK actually found that 1 in 5 tenants faced charges for marks left by pins or frames. Going frameless is your best bet for keeping that deposit safe.
Once you've tested it, press your adhesive firmly onto the wall for a good 30 seconds to make sure it creates a solid bond. You can get more of a feel for these trends by checking out the UK’s custom printing market to see why these details really matter.
Getting your poster perfectly aligned and securely stuck is the difference between a pro-level display and a Sunday league fumble. Take that extra minute to get it right – your walls will thank you for it.
Your Frameless Hanging Questions Answered
Still have a few questions? No problem. We get these all the time, so let's run through the most common queries to make sure you're ready to go.
Will poster putty leave greasy marks?
Generally, no, but it's always a good idea to do a patch test somewhere out of sight first. Every wall surface and paint finish is different, so a quick test behind a piece of furniture can prevent any nasty surprises down the line. It's like checking the teamsheet before the match starts – better to be safe.
How much weight can Command Strips really hold?
This really depends on the specific type of strip you buy. The larger, heavy-duty ones are surprisingly strong and can hold up to 7kg. Always double-check the weight limit on the packaging. Don't just guess and risk your prized Joy Division print taking a nosedive.
For bigger, heavier posters, I'd always recommend using more strips than the pack suggests. Placing a few extra along the top edge helps distribute the weight evenly and stops it from sagging over time. It’s like putting an extra man in the wall for a free-kick.
Of course, some prints really do look better and are better protected in a frame. If you're on the fence, our guide on how to frame posters can help you make the right call.
Ready to get those walls looking their best? Dive into the full collection of music, football, and pop culture prints at Striped Circle and find your next centrepiece. https://www.stripedcircle.com
