
Your Guide to a Pictures Wall Collage That's Actually Cool
A pictures wall collage is the ultimate way to stamp your personality on a blank space. Think of it as a collection of prints, photos, and art that tell a story—your story. It's about turning a boring wall into a personal gallery that’s uniquely you. It's organised chaos at its finest, and frankly, it's the only way to save your walls from a life of beige misery.
Your Walls Are Crying Out for Help
Let's be honest, a blank wall is a wasted opportunity. It's the interior design equivalent of a 0-0 draw where neither team had a single shot on target. It’s dull, uninspired, and frankly, a bit of a letdown. Your home and office deserve better than that. Your walls have seen you celebrate that last-minute winner and belt out Wonderwall at 2 a.m.—the least you can do is give them something cool to wear.
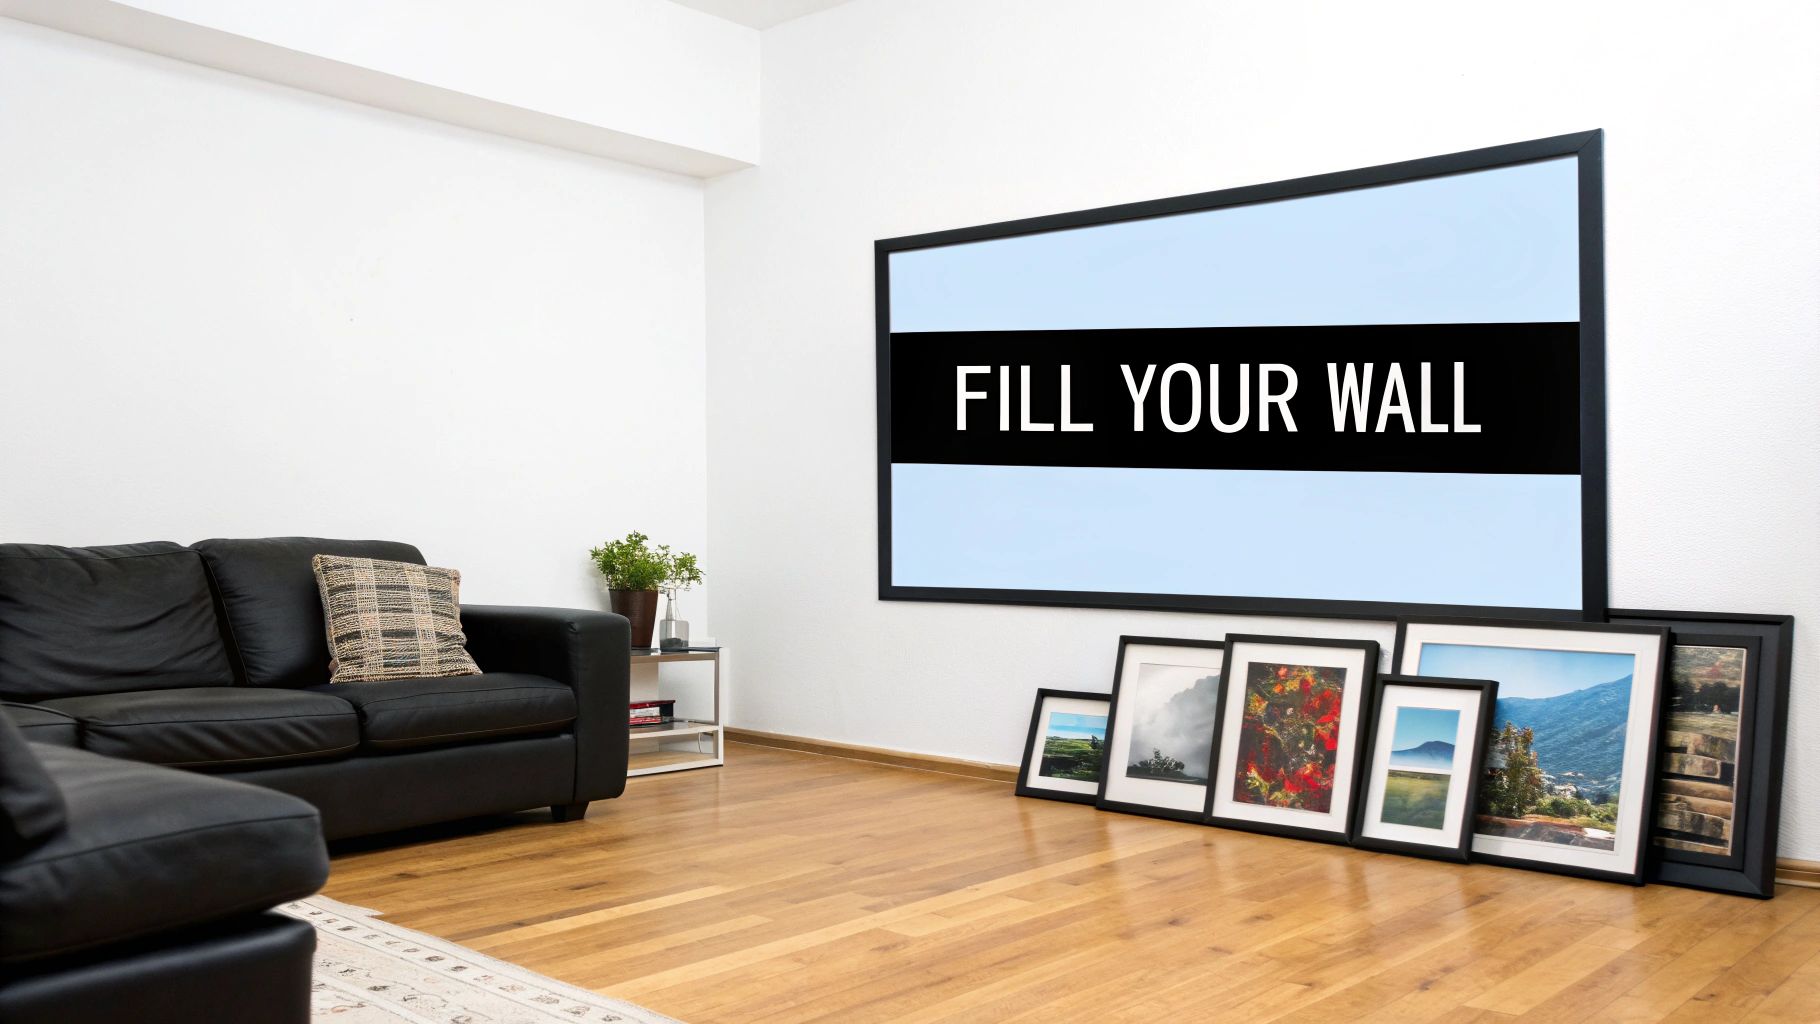
This is where the mighty pictures wall collage comes in, ready to sub on and change the game. We're not talking about those sterile, perfectly aligned frames you see in a bland furniture catalogue. This is about creating a proper reflection of you and your passions.
More Than Just Decoration
Think of it as your personal highlight reel, a chance to give visitors something more interesting to talk about than the miserable British weather. A pictures wall collage is your chance to:
- Showcase Your Vibe: Mix that legendary Cantona goal celebration print with a classic Oasis album cover.
- Tell Your Story: Frame a quote from your favourite film next to a questionable photo from that lads' holiday in Magaluf.
- Create a Focal Point: Turn that neglected wall behind the sofa into the centrepiece of the room, a testament to your excellent taste.
This trend is less about following rigid interior design rules and more about creating a space that makes you smile. It's about surrounding yourself with memories, heroes, and inside jokes.
Forget Perfect, Embrace Personality
The days of needing everything to be perfectly symmetrical are over. Gallery walls are still a huge trend in UK home décor, but what sets modern arrangements apart is the move towards ‘imperfect’ layouts.
Experts agree that deliberately asymmetrical and eclectic collections define the modern gallery wall, a far cry from that stiff, showroom-style neatness. You can find out more about how home décor trends are evolving to get some inspiration.
Your wall should look like a curated playlist of your life, not a spreadsheet. It’s the visual equivalent of putting The Stone Roses on shuffle next to a bit of Jay-Z—it shouldn't work, but it absolutely does.
A pictures wall collage is the easiest way to inject some life and character into a room. It’s a dynamic, ever-evolving project that grows with you. One awesome print at a time, you can build something that’s not just cool to look at, but genuinely meaningful too. So, let’s get those walls sorted.
Assembling Your All-Star Print Collection
Right, this is the best bit: assembling your squad of prints. A killer pictures wall collage is like a perfect playlist or a finely tuned five-a-side team; it needs variety, flow, and a couple of unexpected bangers to really make it sing.
Think of it as a scouting mission for things that make you grin. What are you truly passionate about? If you’re a football fanatic, that iconic goal celebration is a non-negotiable first-team pick. For music obsessives, a classic gig poster or some alternative album art is an absolute must. Film buff? Find that obscure movie quote only true fans will get, and you’re golden.
Curate Like a Pro
The key is to mix it up. Don't be afraid to put something arty next to a ridiculous meme you found online, or a cherished photo of your mates next to a detailed diagram of the Millennium Falcon. This isn’t the Tate Modern; it’s your personal gallery, a testament to your brilliant, and possibly questionable, taste.
Your collection should be more than just pretty pictures; it should tell a story. Each piece is a player with a specific role:
- The Star Striker: Your main piece. Maybe it’s a massive print of your favourite band or a stunning photo you took yourself.
- The Solid Midfielders: These are your supporting prints—smaller pieces that complement the main event and add depth.
- The Wildcard Sub: An oddball print that adds a flash of humour or pure randomness. Think of it as the Eric Cantona of your collection.
To find those hidden gems for your wall, it helps to get your digital life in order first. You'll thank yourself later if you explore some of the best ways to organize your photos now, making it so much easier to dig out those perfect moments for your display.
Finding Your Prints
Sourcing your prints is half the fun. Forget generic, mass-produced tat that everyone has. You're looking for pieces that resonate. Dive into online marketplaces, support independent artists, or even frame a vintage football programme you found at a car boot sale. Our guide on how to choose art for your home can help you narrow down the perfect pieces for your vibe.
This personal approach to home décor has seen a massive surge in popularity across the UK. The shift to working from home has driven a desire for more inspiring and comforting living spaces. Younger homeowners and renters, in particular, are embracing wall collages as a brilliant, affordable way to personalise their pads.
A great pictures wall collage is deeply personal. It’s a collection of memories, passions, and inside jokes disguised as interior design. If a print doesn't make you feel something, it doesn't make the team. Simple as that.
Ultimately, only choose pieces that actually mean something to you. This is what transforms a simple collection of frames into a genuine reflection of who you are.
Planning Your Layout Without Losing Your Mind
Right, hold your horses. Before you grab a hammer and start banging nails into the wall like a possessed DIY enthusiast after three espressos, let's talk strategy. Properly mapping out your pictures wall collage is the secret step that separates a visual masterpiece from something that looks like the aftermath of a jumble sale explosion.
The best trick in the book? Use your floor. Seriously. Clear a space on your floor that’s the same size as your target wall area. This is your training ground, your tactical whiteboard where you can lay out all your framed prints and start arranging them.
The Floor Plan Manoeuvre
Once your prints are on the floor, live with the arrangement for a day or two. Swap things around. See what combinations click and which ones clash. Does that moody black-and-white print of Ian Curtis look weird next to a vibrant pop-art piece of Pelé? Maybe. Or maybe it’s a stroke of genius. You won’t know until you see it laid out.
This process lets you experiment without consequence. It's the pre-season friendly before the big match, helping you avoid putting a dozen unwanted holes in your wall. For more great ideas, check out our detailed guide on how to arrange wall art.
This simple infographic breaks down the core principles of curating your collection before you even think about layouts.

It highlights that the best collections are built on a foundation of passion, variety, and meaning—all of which should guide your final layout choices.
Choosing Your Formation
Layouts are a bit like football formations; there's one for every occasion, and you don’t have to stick to the rigid 4-4-2 of your dad’s era. Let's look at a couple of popular styles to get you started.
- The Grid: This is your classic, organised approach. All frames are aligned in neat rows and columns, usually with identical spacing. It’s clean, sharp, and perfect if you have prints of a similar size or theme. Think of it as the tiki-taka of wall art – precise and controlled.
- Salon Style: This is the ‘organised chaos’ we absolutely love. It involves mixing different sizes, shapes, and orientations to create a dynamic, sprawling display. It’s more rock ‘n’ roll, less regimented, and brilliant for showcasing a diverse collection with a lot of personality.
The key to any great layout, even the chaotic ones, is spacing. The gap between your frames is crucial. Aim for a consistent distance—usually around 5-10 cm—to make the whole arrangement feel intentional and cohesive, not just chucked on the wall.
Another pro tip is to establish a focal point. Pick your biggest, boldest, or most important print—your star player. This is your anchor piece. Place it first, usually at eye level and slightly off-centre, then build the rest of your collage around it. This gives your display a natural centre of gravity and stops your eyes from darting all over the place. A little planning first means you hang it once, and you hang it right.
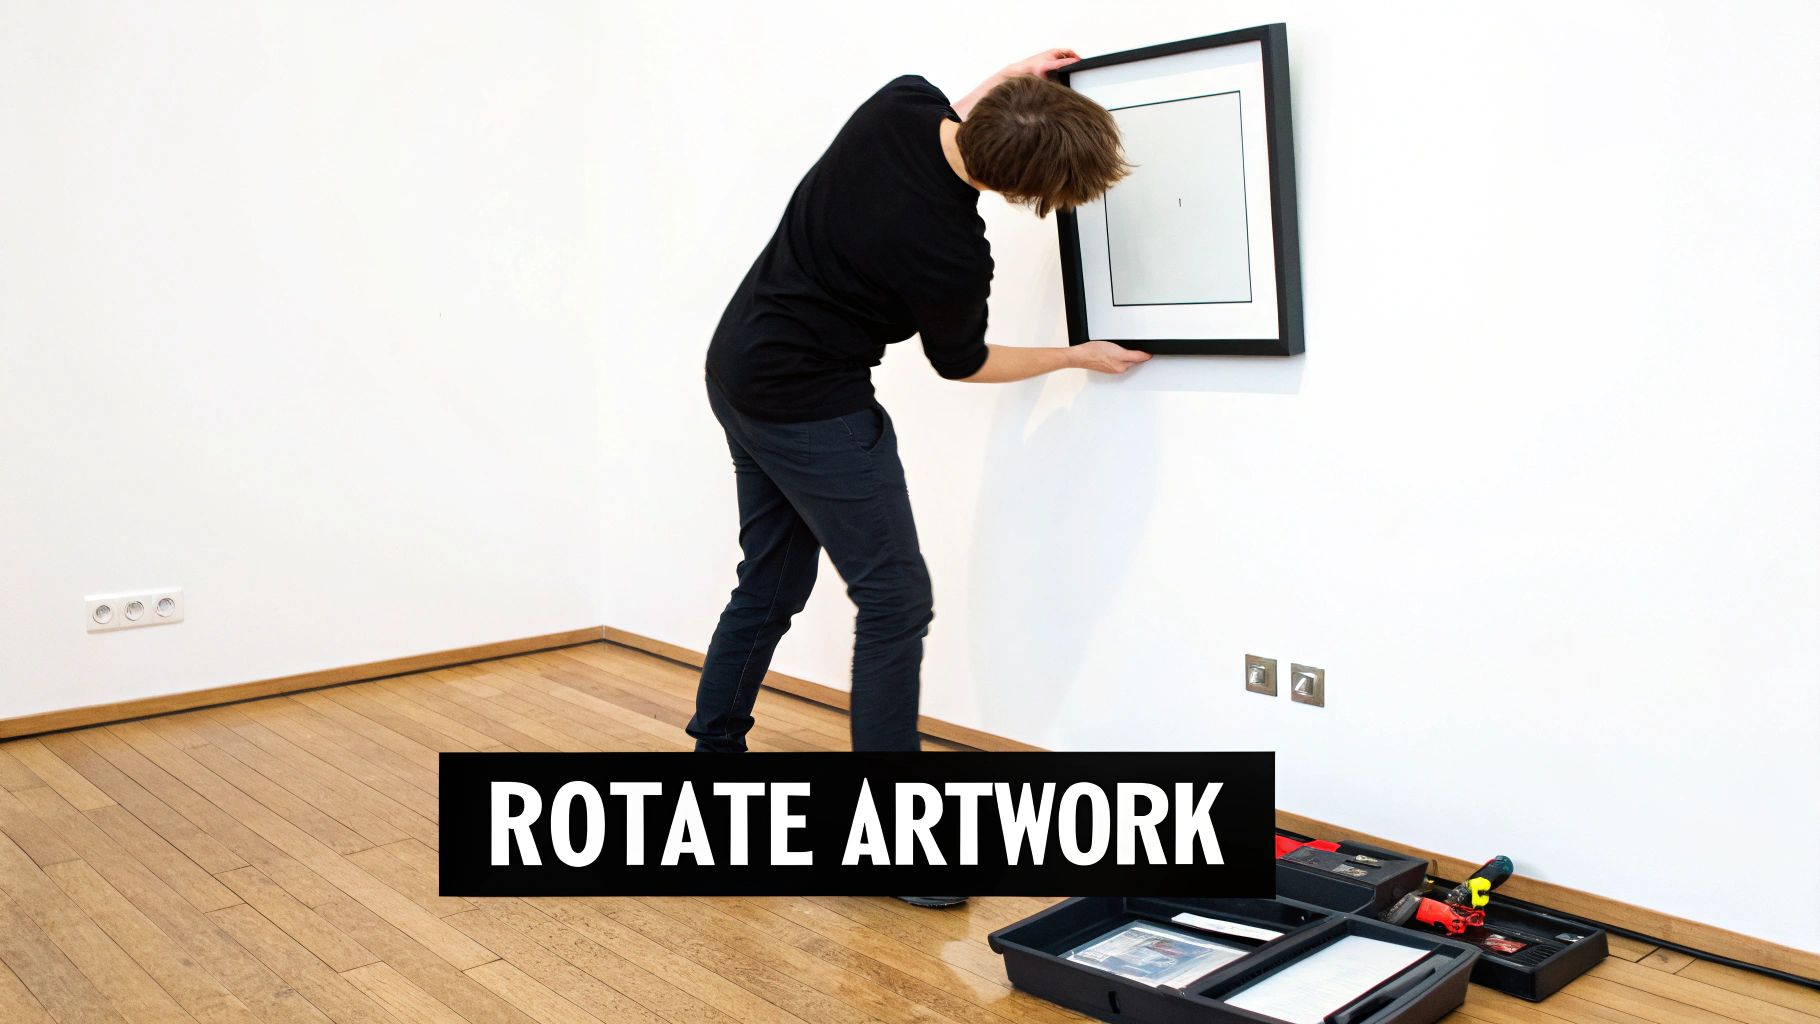
Getting It On The Wall: The Final Whistle
Alright, let's get those pictures off the floor and onto the wall where they belong. This is the moment we’ve been working towards, and for anyone who dreads the thought of a hammer and nails (especially renters), I’ve got you covered.
https://www.youtube.com/embed/eoeEjC970z8
First up, let’s talk about the magic of damage-free hanging solutions. Command strips are, without a doubt, the hero of this story. When you use them properly—and that means actually cleaning the wall with a bit of rubbing alcohol first—they are shockingly strong. They’ll easily hold up your favourite prints without you worrying about a crash in the middle of the night.
This approach gives you total freedom to create an amazing display without kissing your security deposit goodbye. It's all the style, with none of the stress.
The Paper Template Trick
Before a single hook or strip touches your wall, you need to try the single best trick in the book: the paper template method. Honestly, this is a complete game-changer and will save you from a sea of crooked frames and patch-up jobs later.
The process couldn't be simpler:
- Grab some kraft paper, wrapping paper, or even old newspapers and trace around each of your frames.
- Cut out these paper shapes.
- Stick the paper templates onto your wall using a bit of low-tack painter's tape, arranging them exactly as you planned out on the floor.
This lets you see a perfect preview of the final result. You can step back, have a look, and shuffle things around until the balance feels absolutely perfect. Once you’re happy with it, you’ll know exactly where every nail or adhesive strip needs to be placed. No guesswork, no mistakes.
Tools of the Trade
If you own your place or you’re ready to commit to a few small holes, let's make sure it's done right. You don't need a massive toolbox, just a few key items. A spirit level is your best friend here, and yes, the one on your smartphone is surprisingly accurate, so there are no excuses for a wonky wall.
A small hammer and a pack of assorted picture hooks will see you through most projects. Just before you remove your paper templates, poke a small hole through the paper to mark where the nail should go. This tiny step is what makes the difference between a gallery wall that looks effortlessly chic and one that just looks messy. For a deeper dive into prepping your artwork, our guide on how to frame posters has some great advice.
The final hang is the home stretch. Whether you’re using damage-free strips or going the traditional route with a hammer, the principle is the same: hang it once, and hang it right. A little patience and your phone's spirit level are all you need.
Of course, if you've read all this and are still feeling a bit overwhelmed, there's absolutely no shame in bringing in an expert. If you’d rather leave it to someone with a practiced hand, professional art hanging services can get your collage up perfectly, so all you have to do is enjoy the view.
Keeping Your Wall Fresh with the Art of the Swap-Out
Right, so your picture wall collage is up. It looks magnificent. But here’s the thing: it’s not a museum piece, fossilised and untouchable. Think of it more like your fantasy football team; it needs tweaking, tactical substitutions, and the occasional complete overhaul to stay on top of its game.
Your wall should be a living, breathing part of your home, evolving as you do. That poster you snagged from last month's gig shouldn't be gathering dust under your bed; get it framed and find it a spot. Stumbled upon a vintage football programme at a Sunday market? Time for a substitution. This keeps your wall dynamic without the faff of redoing the entire thing.
The Tactical Substitution Strategy
The trick is to have a versatile layout that allows for easy swaps. You don't need to rebuild from the ground up every time you find a new print. The goal is to make small changes that have a big impact.
A great way to do this is to designate a 'featured' spot. This is your prime real estate, the first place people look. Use this space for your newest, most exciting addition. It's like giving a new signing the number 9 shirt straight away.
Another top-tier tactic is the seasonal rotation. You could swap in some brighter, festival-themed prints for summer, then switch to something a bit moodier—maybe some classic black-and-white band photos—for the winter months. It’s the easiest way to refresh a room's entire feel without splashing out on a single tin of paint.
Keeping Your Story Current
Your picture wall collage tells your story, and that story is constantly being updated. This dynamic approach ensures your wall always reflects what you're into right now, not who you were six months ago.
The way we source our art has changed, too. E-commerce has completely shifted the game, with online shopping for wall art surging in the UK. The ability to find prints, frames, and tools online has made personalising your space easier than ever. Analysts also note a growing demand for sustainability, influencing the materials we choose for our walls. You can learn more about the emerging opportunities in the UK wall art market.
A stagnant wall collage is like a band that only ever plays their first album. It was great at the time, but we all want to hear the new stuff. Keep it fresh, keep it moving, and keep it you.
By embracing the art of the swap-out, your wall becomes more than just decoration. It becomes a constantly evolving playlist of your life, always ready for the next banger.
Your Top Questions Answered
Right, you’ve gathered your prints, you've mapped out your layout, and you’re itching to get hanging. But I bet there are a few nagging questions still bouncing around your head. It happens to everyone. Let's tackle some of the most common head-scratchers people run into when building their dream photo wall.
Think of this as your final pre-match pep talk. We'll clear up those last-minute doubts so you can get on with creating your masterpiece with total confidence.
How Far Apart Should Pictures Be in a Collage Wall?
There's no single magic number for this, but a solid rule of thumb is to aim for consistent spacing, usually somewhere between 5 and 10 cm (2-4 inches). Honestly, the key here is consistency, not some sacred measurement. It’s what makes the collection look like a deliberate, cohesive group rather than just a random jumble of pictures.
If you’re working with a lot of smaller frames, I find that tighter spacing often looks sharper and pulls everything together nicely. For larger, more commanding pieces, giving them a bit more breathing room prevents the wall from feeling cramped and chaotic. The most important thing is that the gap looks intentional—that's what ties all the different elements into one impressive display.
Do All the Frames Have to Match?
Absolutely not! In fact, I'd actively encourage you not to. A wall filled with identical frames can look a bit sterile and, dare I say, a bit like a corporate waiting room. Mixing up frame styles, colours, and materials is what gives your collage its unique character and personality.
A sleek black frame hanging next to a rustic, natural wood one can create a fantastic sense of texture and give the whole setup a more relaxed feel. The trick is to find a common thread that ties them all together, so it looks curated, not chaotic.
- Stick to a simple colour palette: You could decide to only use black, white, and natural wood frames, for instance.
- Match the tone of the prints: Make sure the artwork inside the frames shares a similar vibe or colour scheme.
- Find a balance: Too much variety can look messy, so maybe start with two or three different styles and see how they play off each other.
A mix-and-match approach is perfect for achieving that 'effortlessly cool' vibe. It tells a story, suggesting your collection was built over time, not just bought in one go from a catalogue.
Where Should I Start Hanging on a Gallery Wall?
This is a big one, but the answer is surprisingly simple: always start with your biggest or most important piece. This is your ‘anchor’ print, the focal point of the entire arrangement. Get this one up first, generally placing it at eye level, which is usually around 145-150 cm from the floor.
Here's a pro tip: don't stick your anchor piece dead in the centre. Positioning it slightly off-centre is often more visually interesting. It encourages the eye to travel across the entire collection, taking in all your brilliant prints.
Once this main piece is securely on the wall, you can build the rest of the collage out from it. Working outwards like this ensures your focal point is perfectly positioned and makes it so much easier to balance the rest of the arrangement around it. It just creates a more natural flow and stops your wall from looking lopsided.
Ready to build your own legendary wall? At Striped Circle, we’ve got the unique music and football prints that will make your pictures wall collage stand out from the crowd. Find your next masterpiece.
